Visit to a Jewelry Workshop
I recently got to spend some quality time being underfoot at Mimosa Handcrafted. It was during the Christmas rush, so I tried not to interrogate them too much, but I was completely fascinated by the process of how designs became jewelry. So I'm writing it up here to make sure I have it straight and to share with the curious.
A little background first - my cousin Madeline created Mimosa Handcrafted several years ago, first as a side project. Over the years it has grown to be a full-time job for her and her husband Dawson, plus they have an employee, Courtney. Madeline and Dawson met studying landscape architecture at LSU. As you might imagine, they have great aesthetic senses and are very good at making them become reality.
Madeline makes the designs and most of the custom pieces. Dawson has taken over the process of making them into metal. They make their jewelry through lost wax casting.
Here's my quick version of how it works:
Every piece of jewelry is created in wax first. A bunch of them are attached together so they can be cast efficiently. Surround the wax in plaster, let the plaster set, remove the wax. Boom, now you can pour hot metal into the plaster mold and get a clump of attached jewelry! It still needs to be detached and cleaned up, but you've gone from a piece of wax to a piece of metal.
And because I am a huge nerd for processes, here's each step, with pictures and rambling:
1. Pieces are Created in Wax
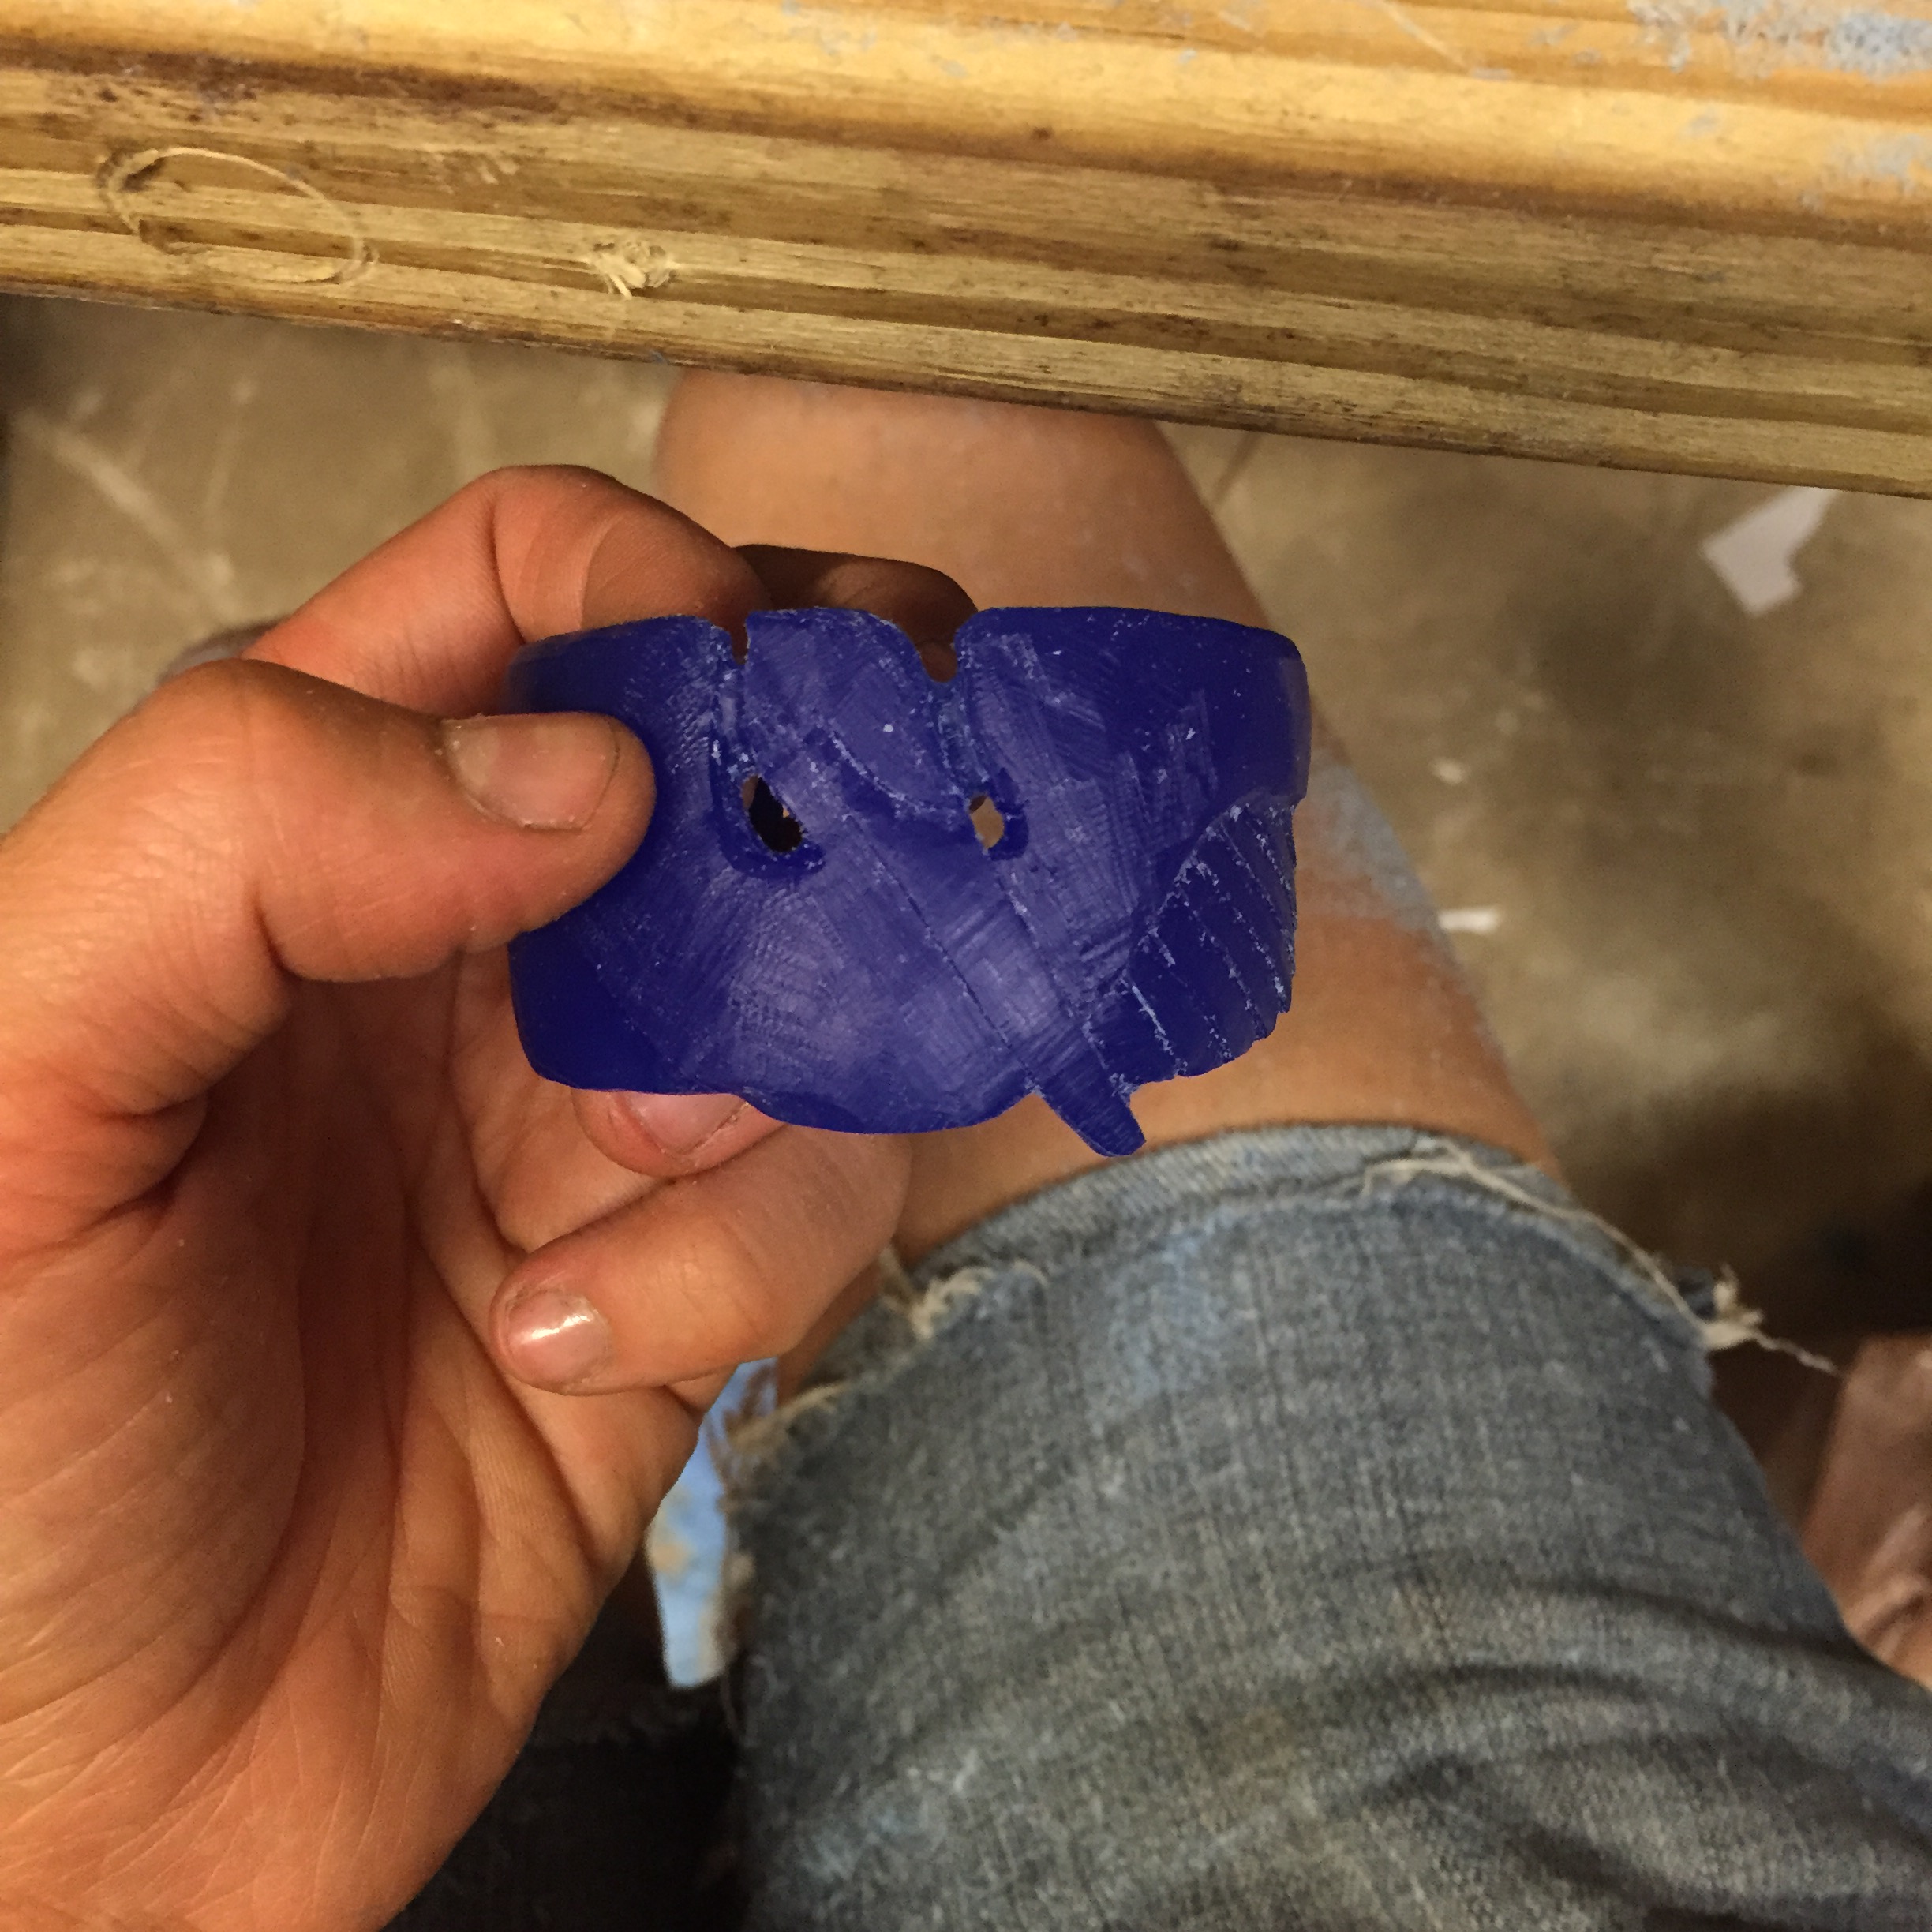
There are two branches to this - new and custom pieces are created directly in wax, repeats get made in a silicon mold.
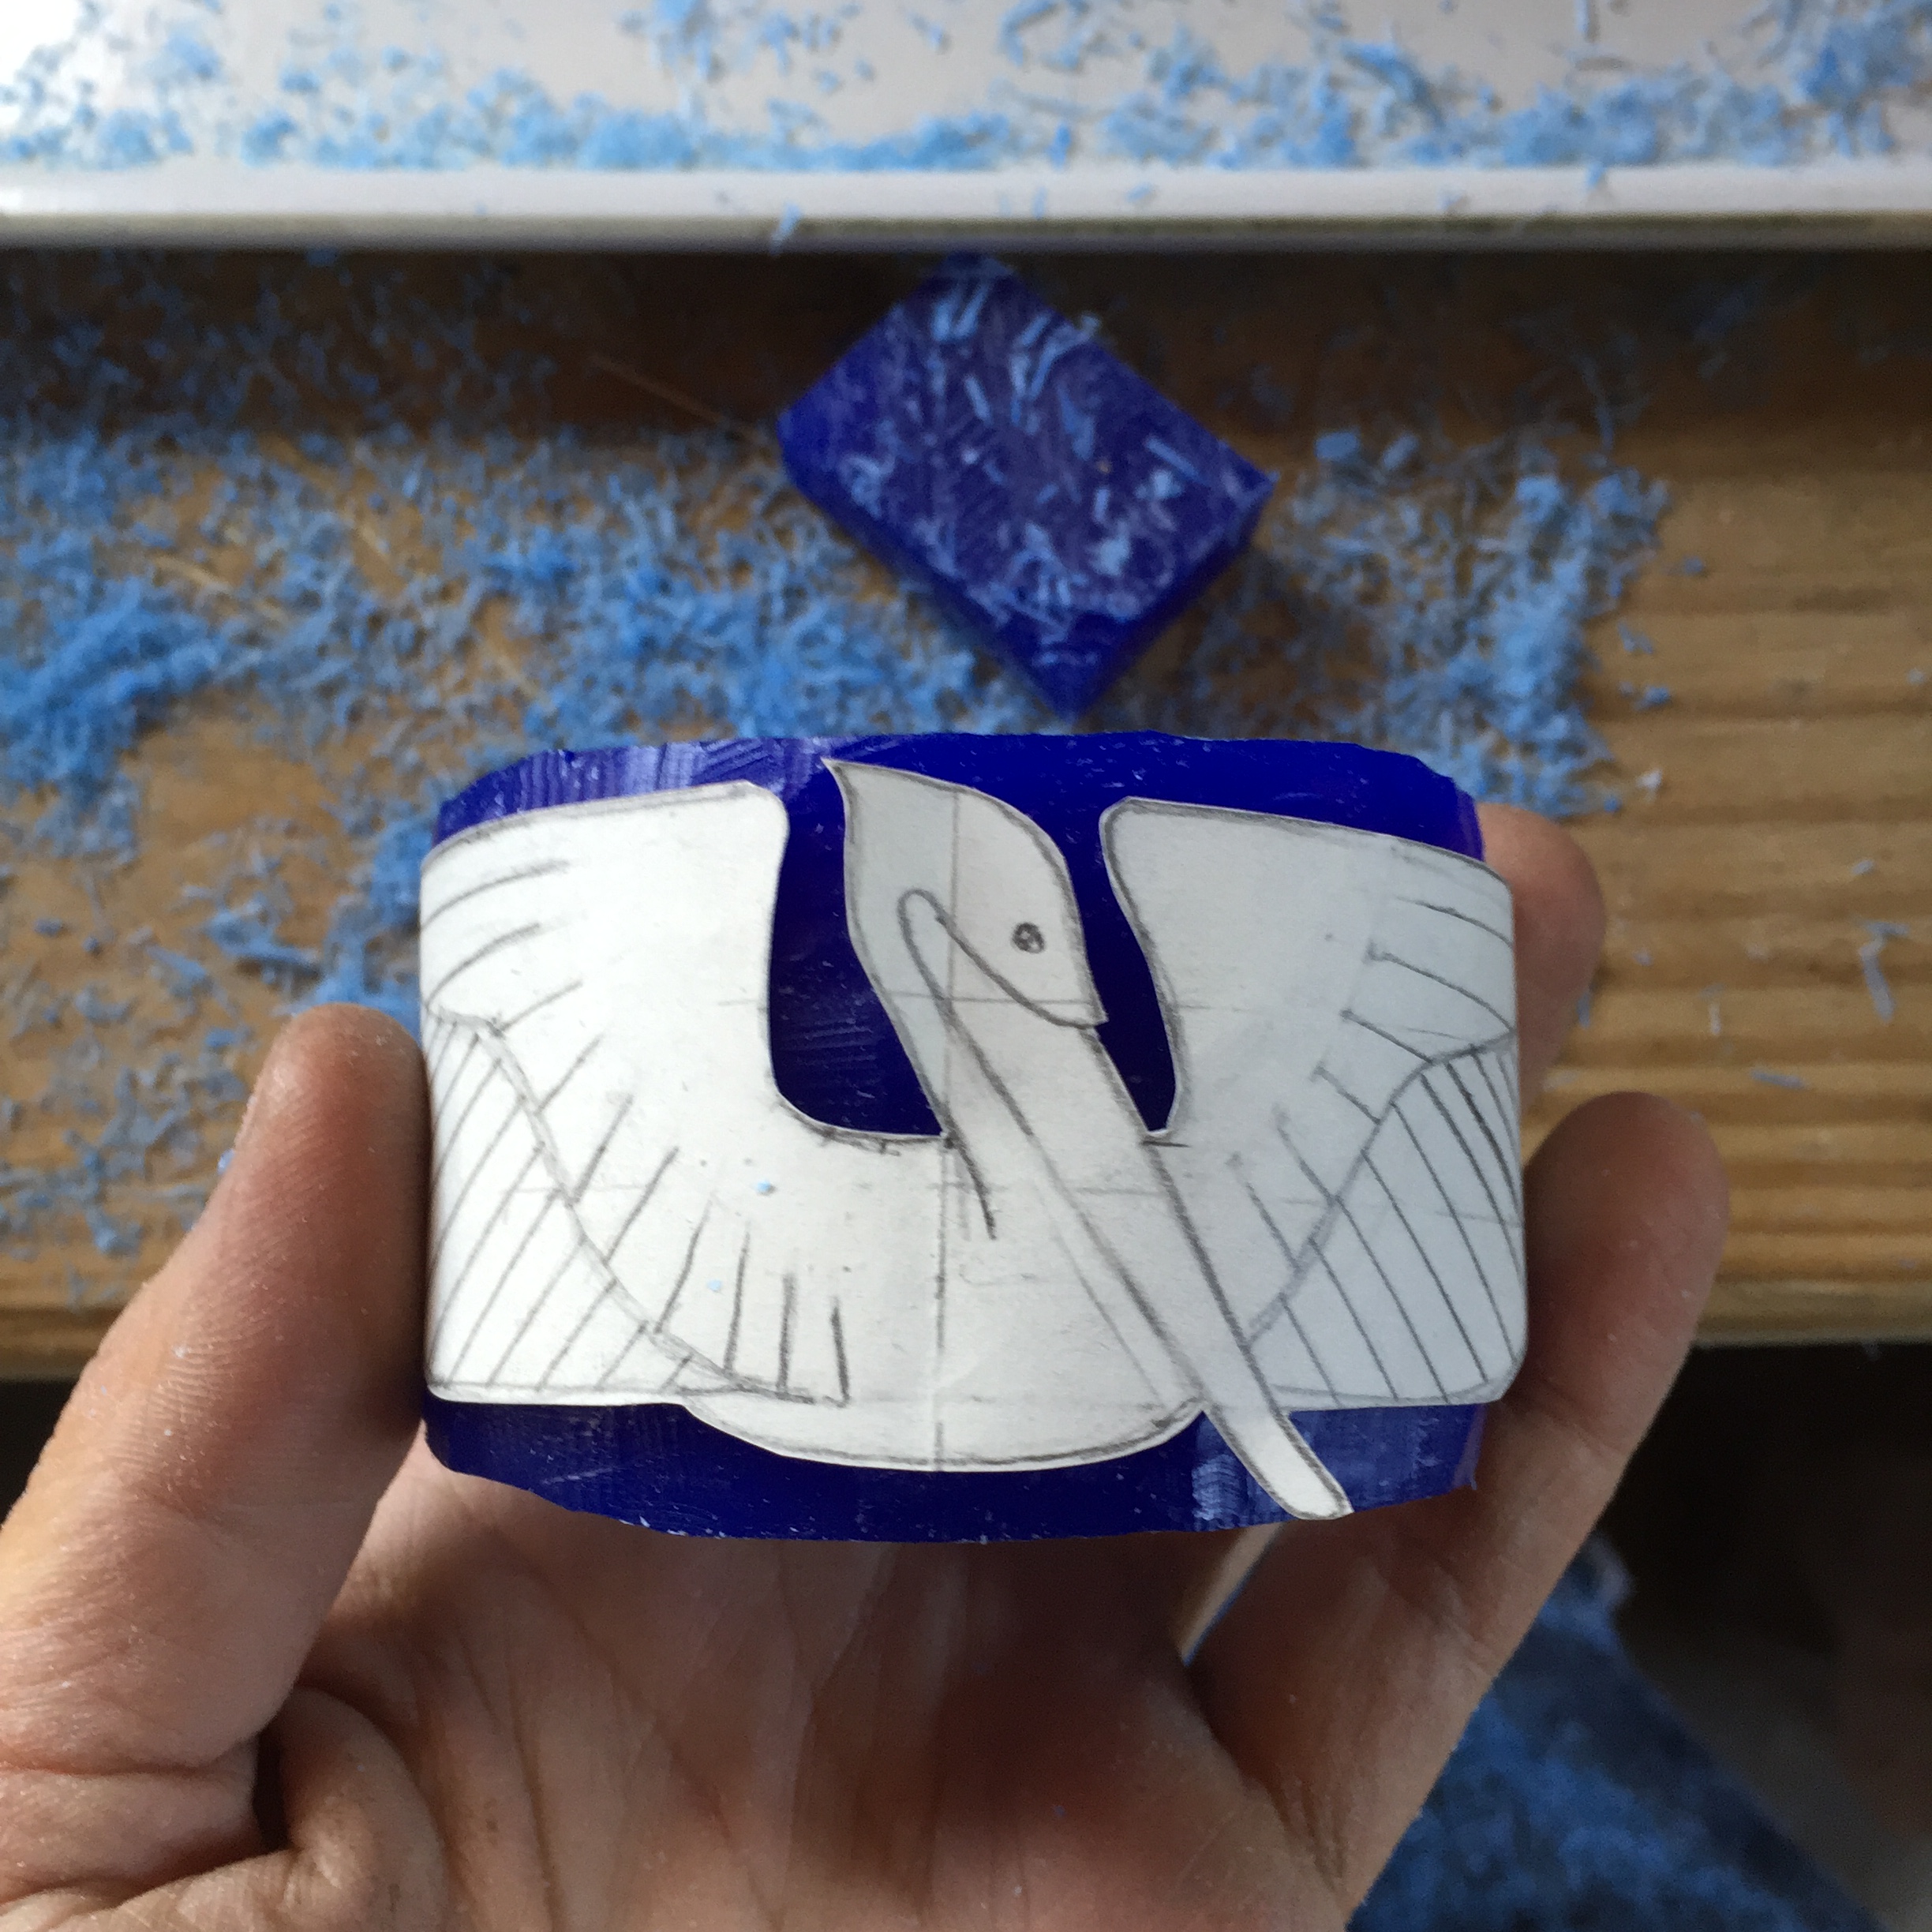
Madeline hand carves her designs, starting from a sketch.
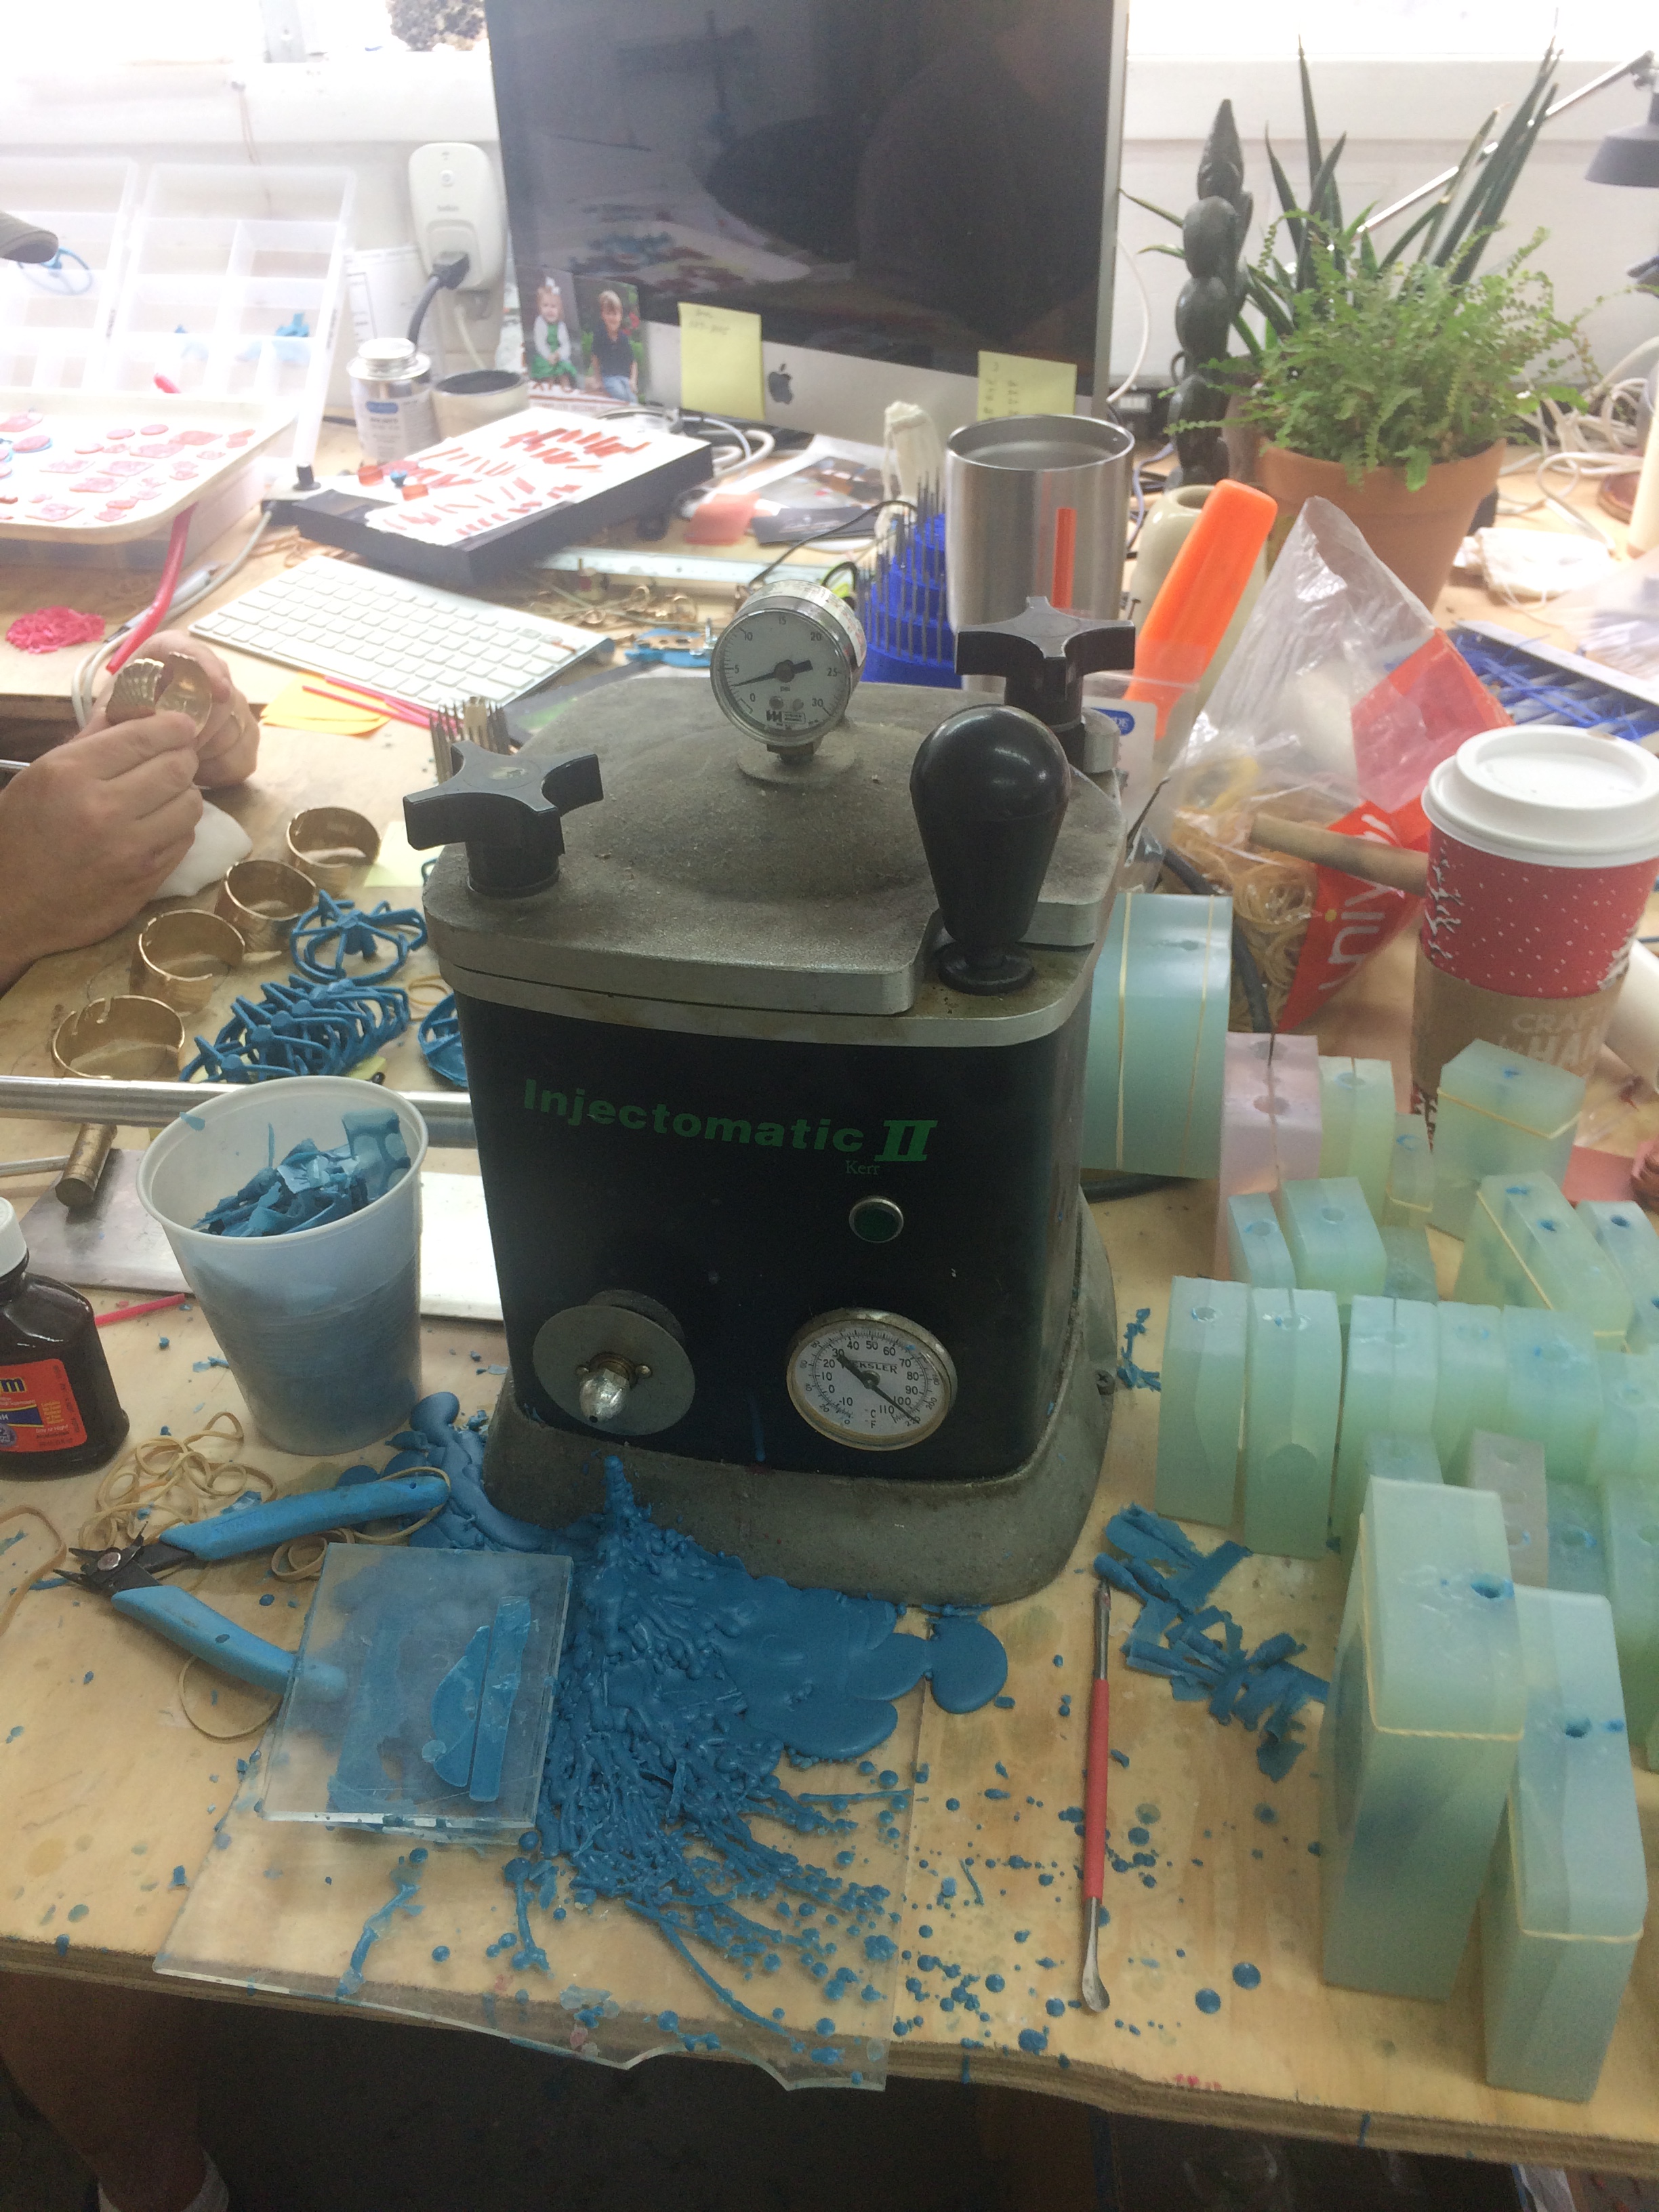
Dawson creates a mold from the finished pieces, and then any of the team can squirt hot wax into it from this magic machine, the Injectomatic II.
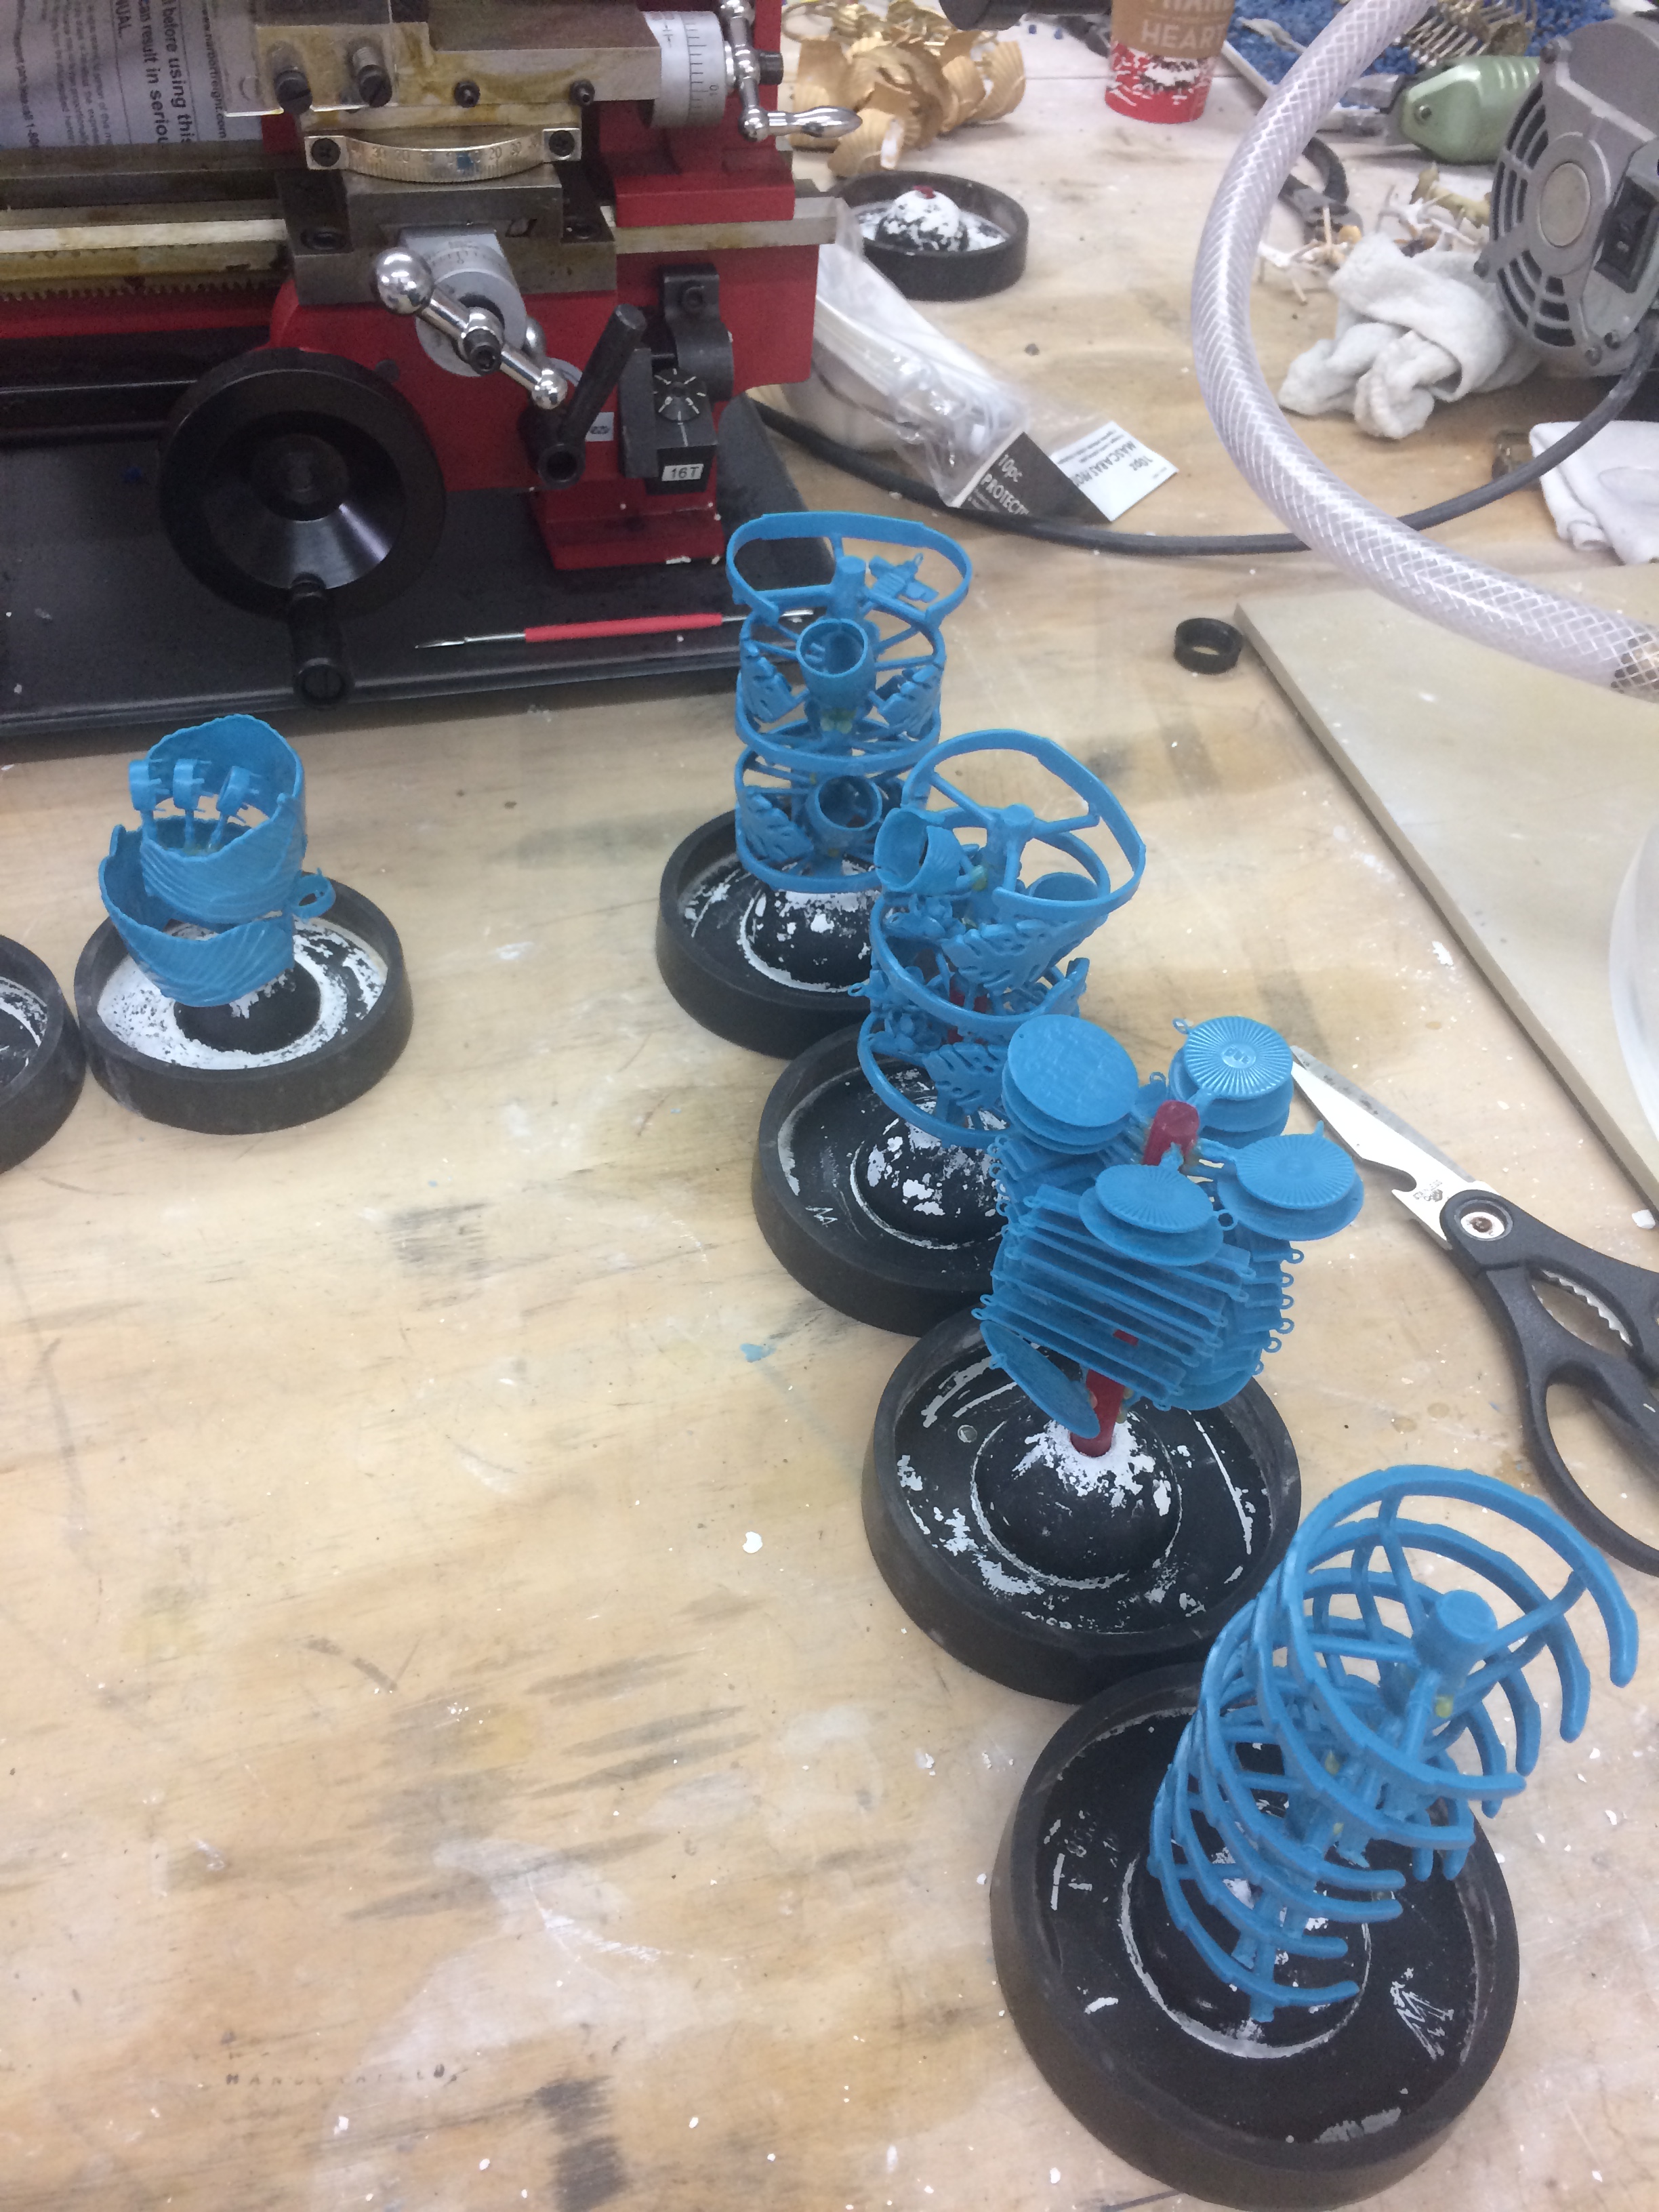
2. Wax Pieces Get Attached to a "Tree"

This workbench is where it happens. The two open bowls are full of liquid wax. Red wax is extra sticky, the blue that you see everywhere is extra sturdy.
Off to the left, you see a black disc with a red stick of wax coming out of it - this is a bare tree. Each piece gets attached by a connection of wax called a "sprue." For molded pieces the sprue is the bit where the wax gets injected into the mold. For custom pieces, someone has to glue a little wax sprue onto the shaped piece.
Then using dabs of the hot wax, each piece is glued to the tree.
https://www.instagram.com/p/BJjMpY7jxqo/
The trees go into containers so that plaster can go around them.
3. Mix Plaster, Remove Bubbles in a Bell Jar
4. Pour Plaster, Remove Bubbles
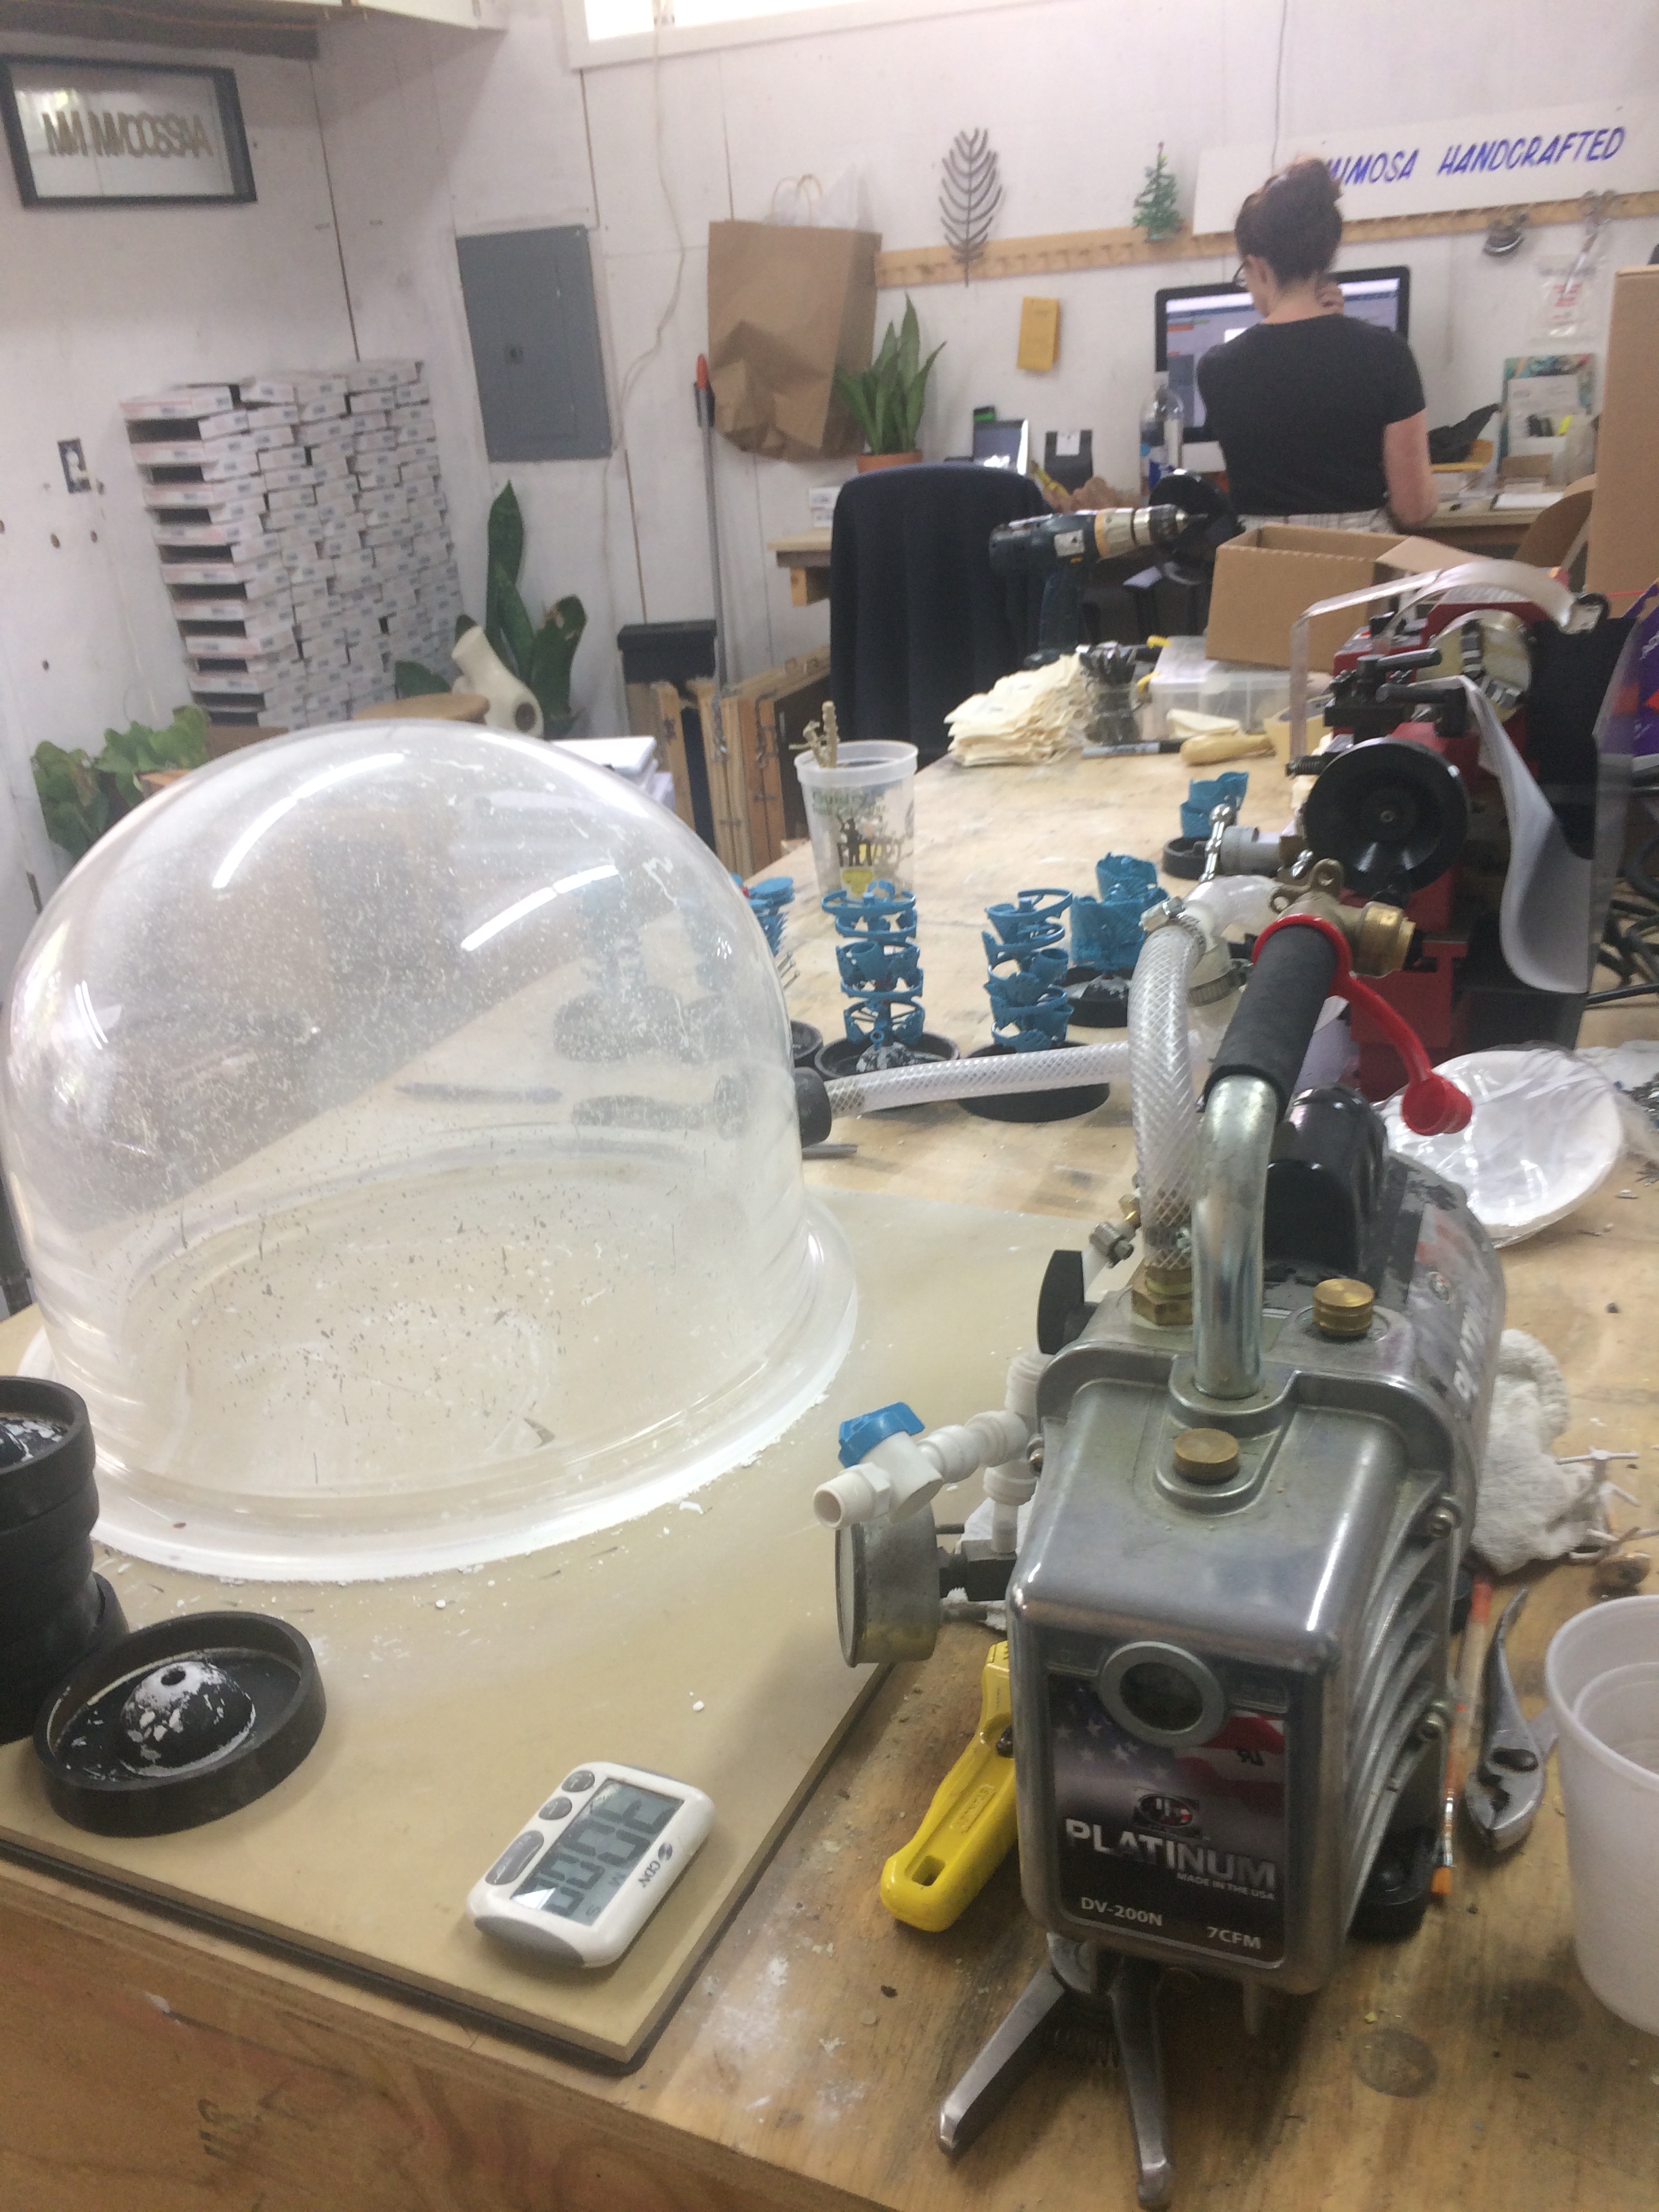
Bubbles in the plaster near the tree would leave extra bits of metal attached to the pieces. Or bubbles could make the plaster less strong, and the metal could break through bits - a blowout. Looks cool, but you have to totally start over.
I didn't realize that generating a vacuum in your workshop was so common and so useful, but here's a bell jar.
5. Allow Plaster to Set
I expected this to take days, but they told me it was more like a couple of hours.
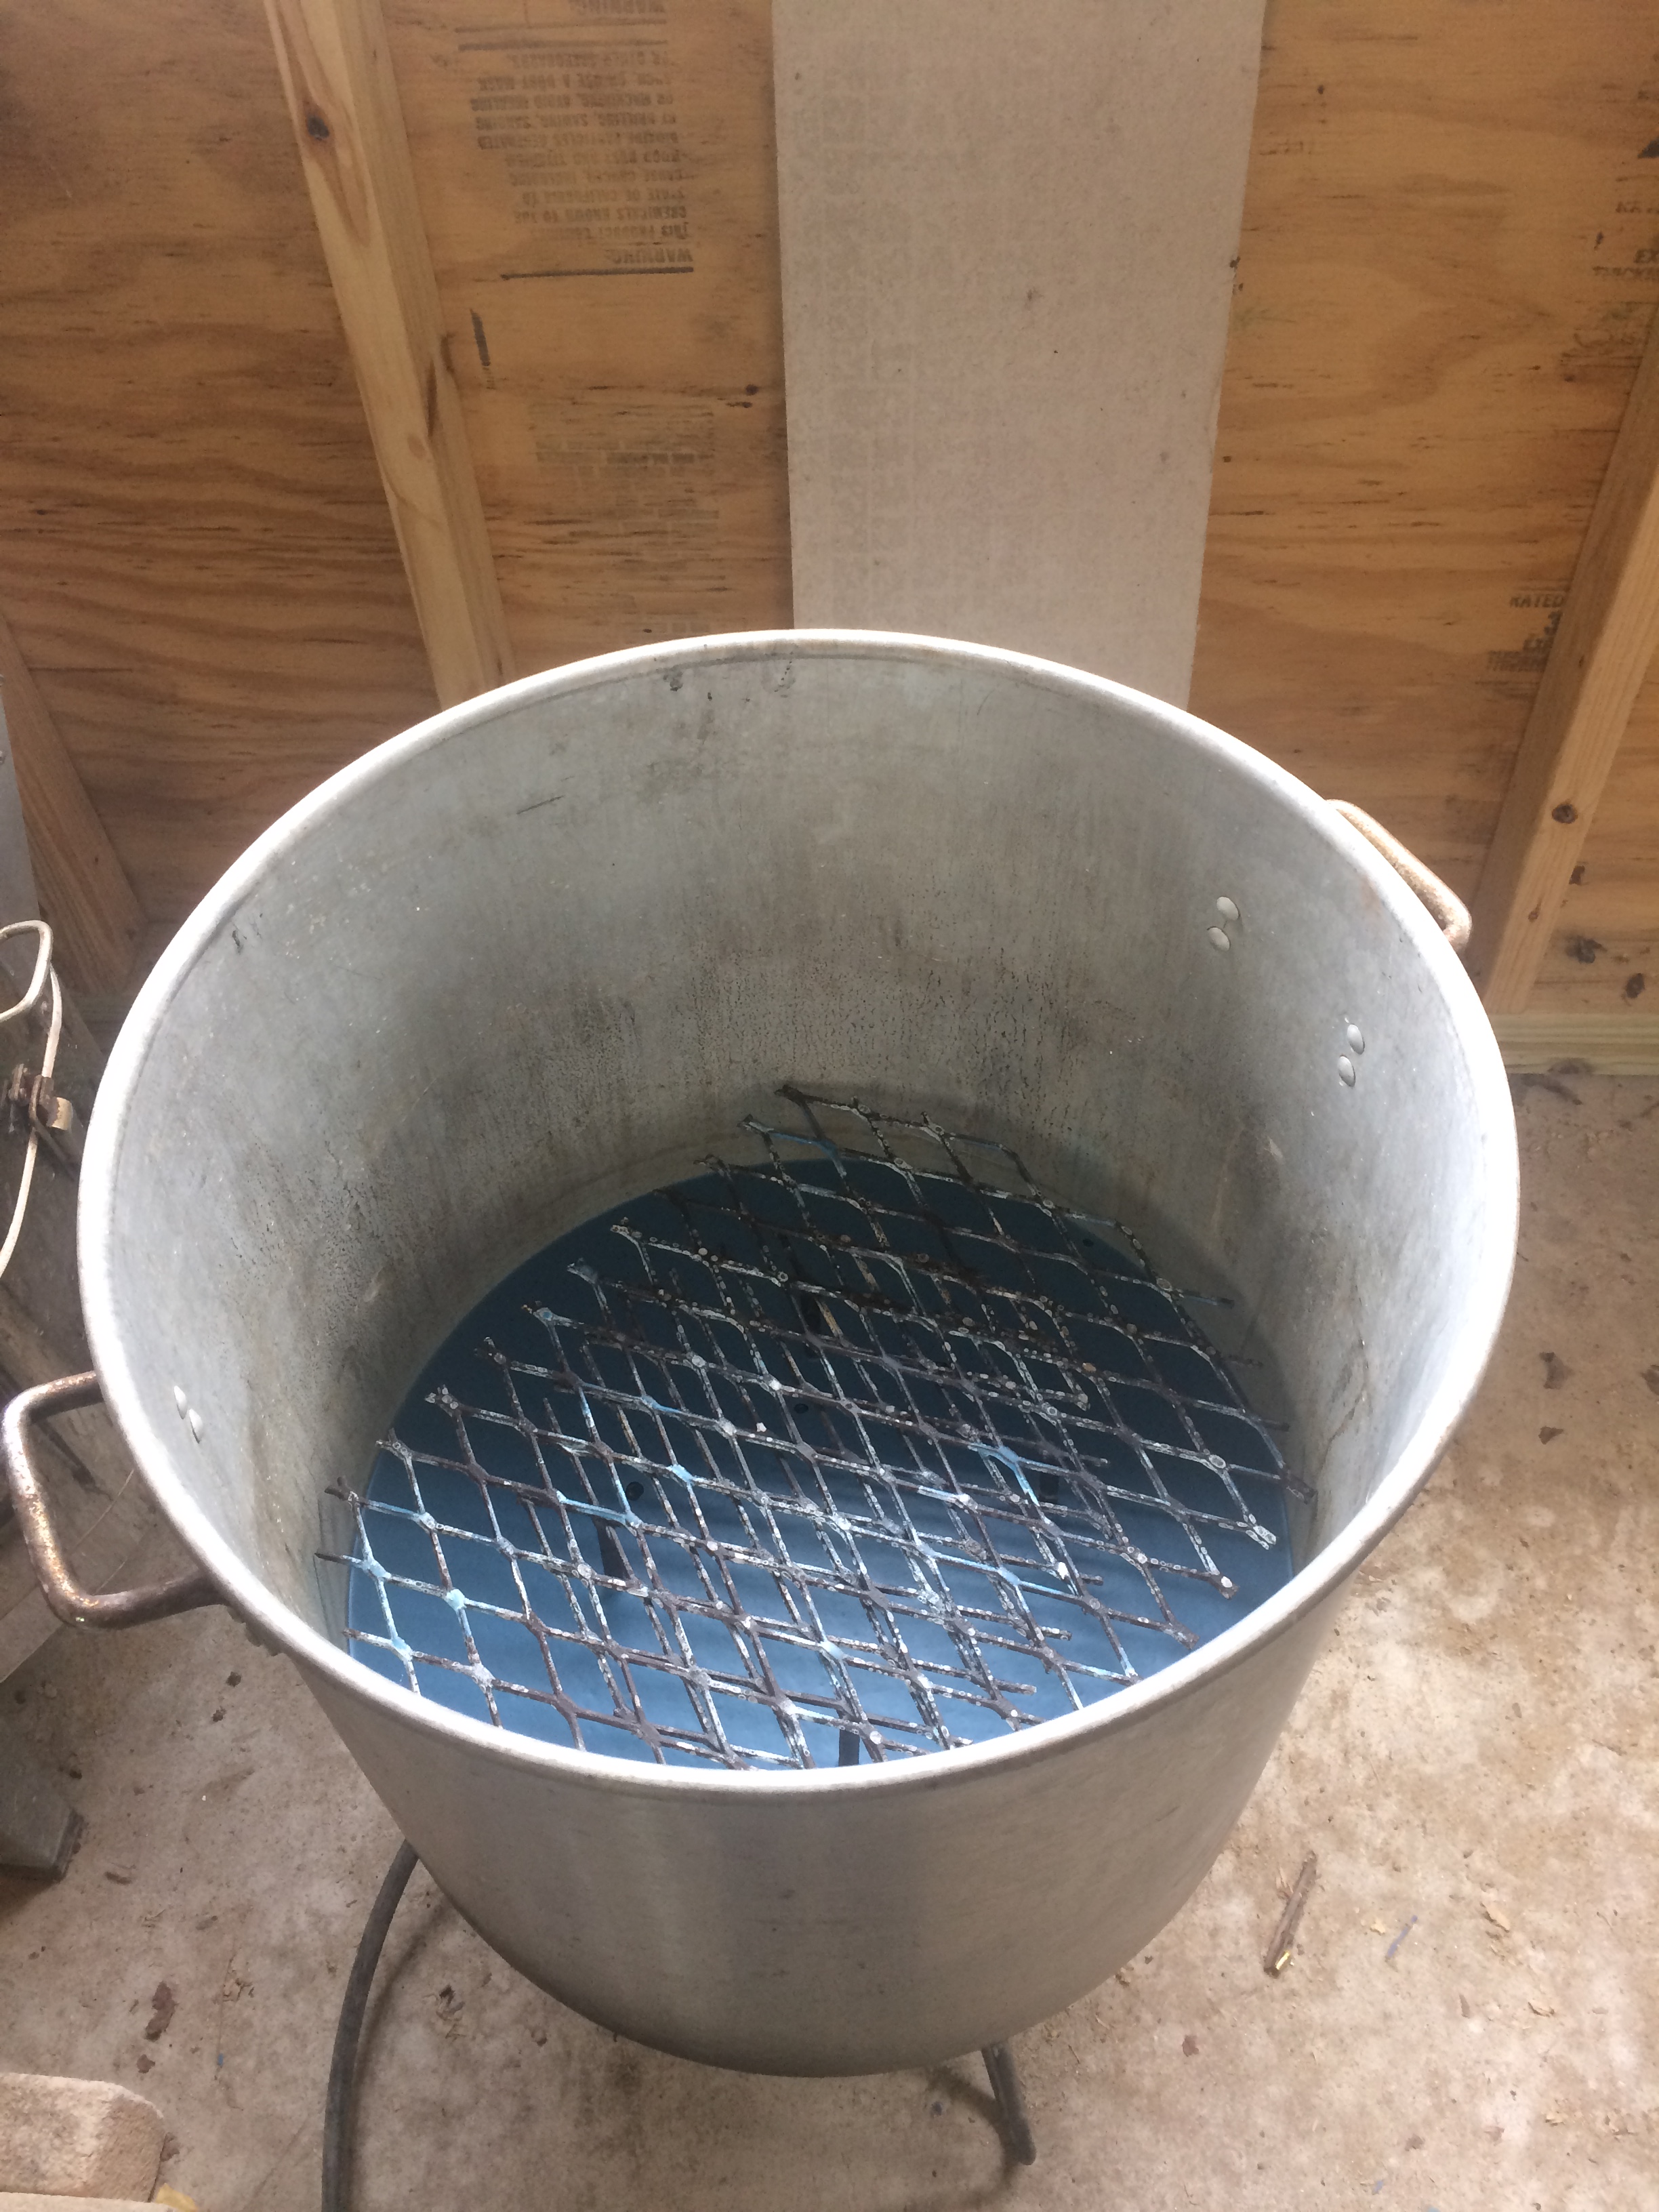
6. Melt the Wax out in a Steam Bath
https://www.instagram.com/p/BOD-N60D5RI/
This is Louisiana - so that's a crawfish boil setup.
7. Burn off Rest of Wax and Set Plaster in Kiln

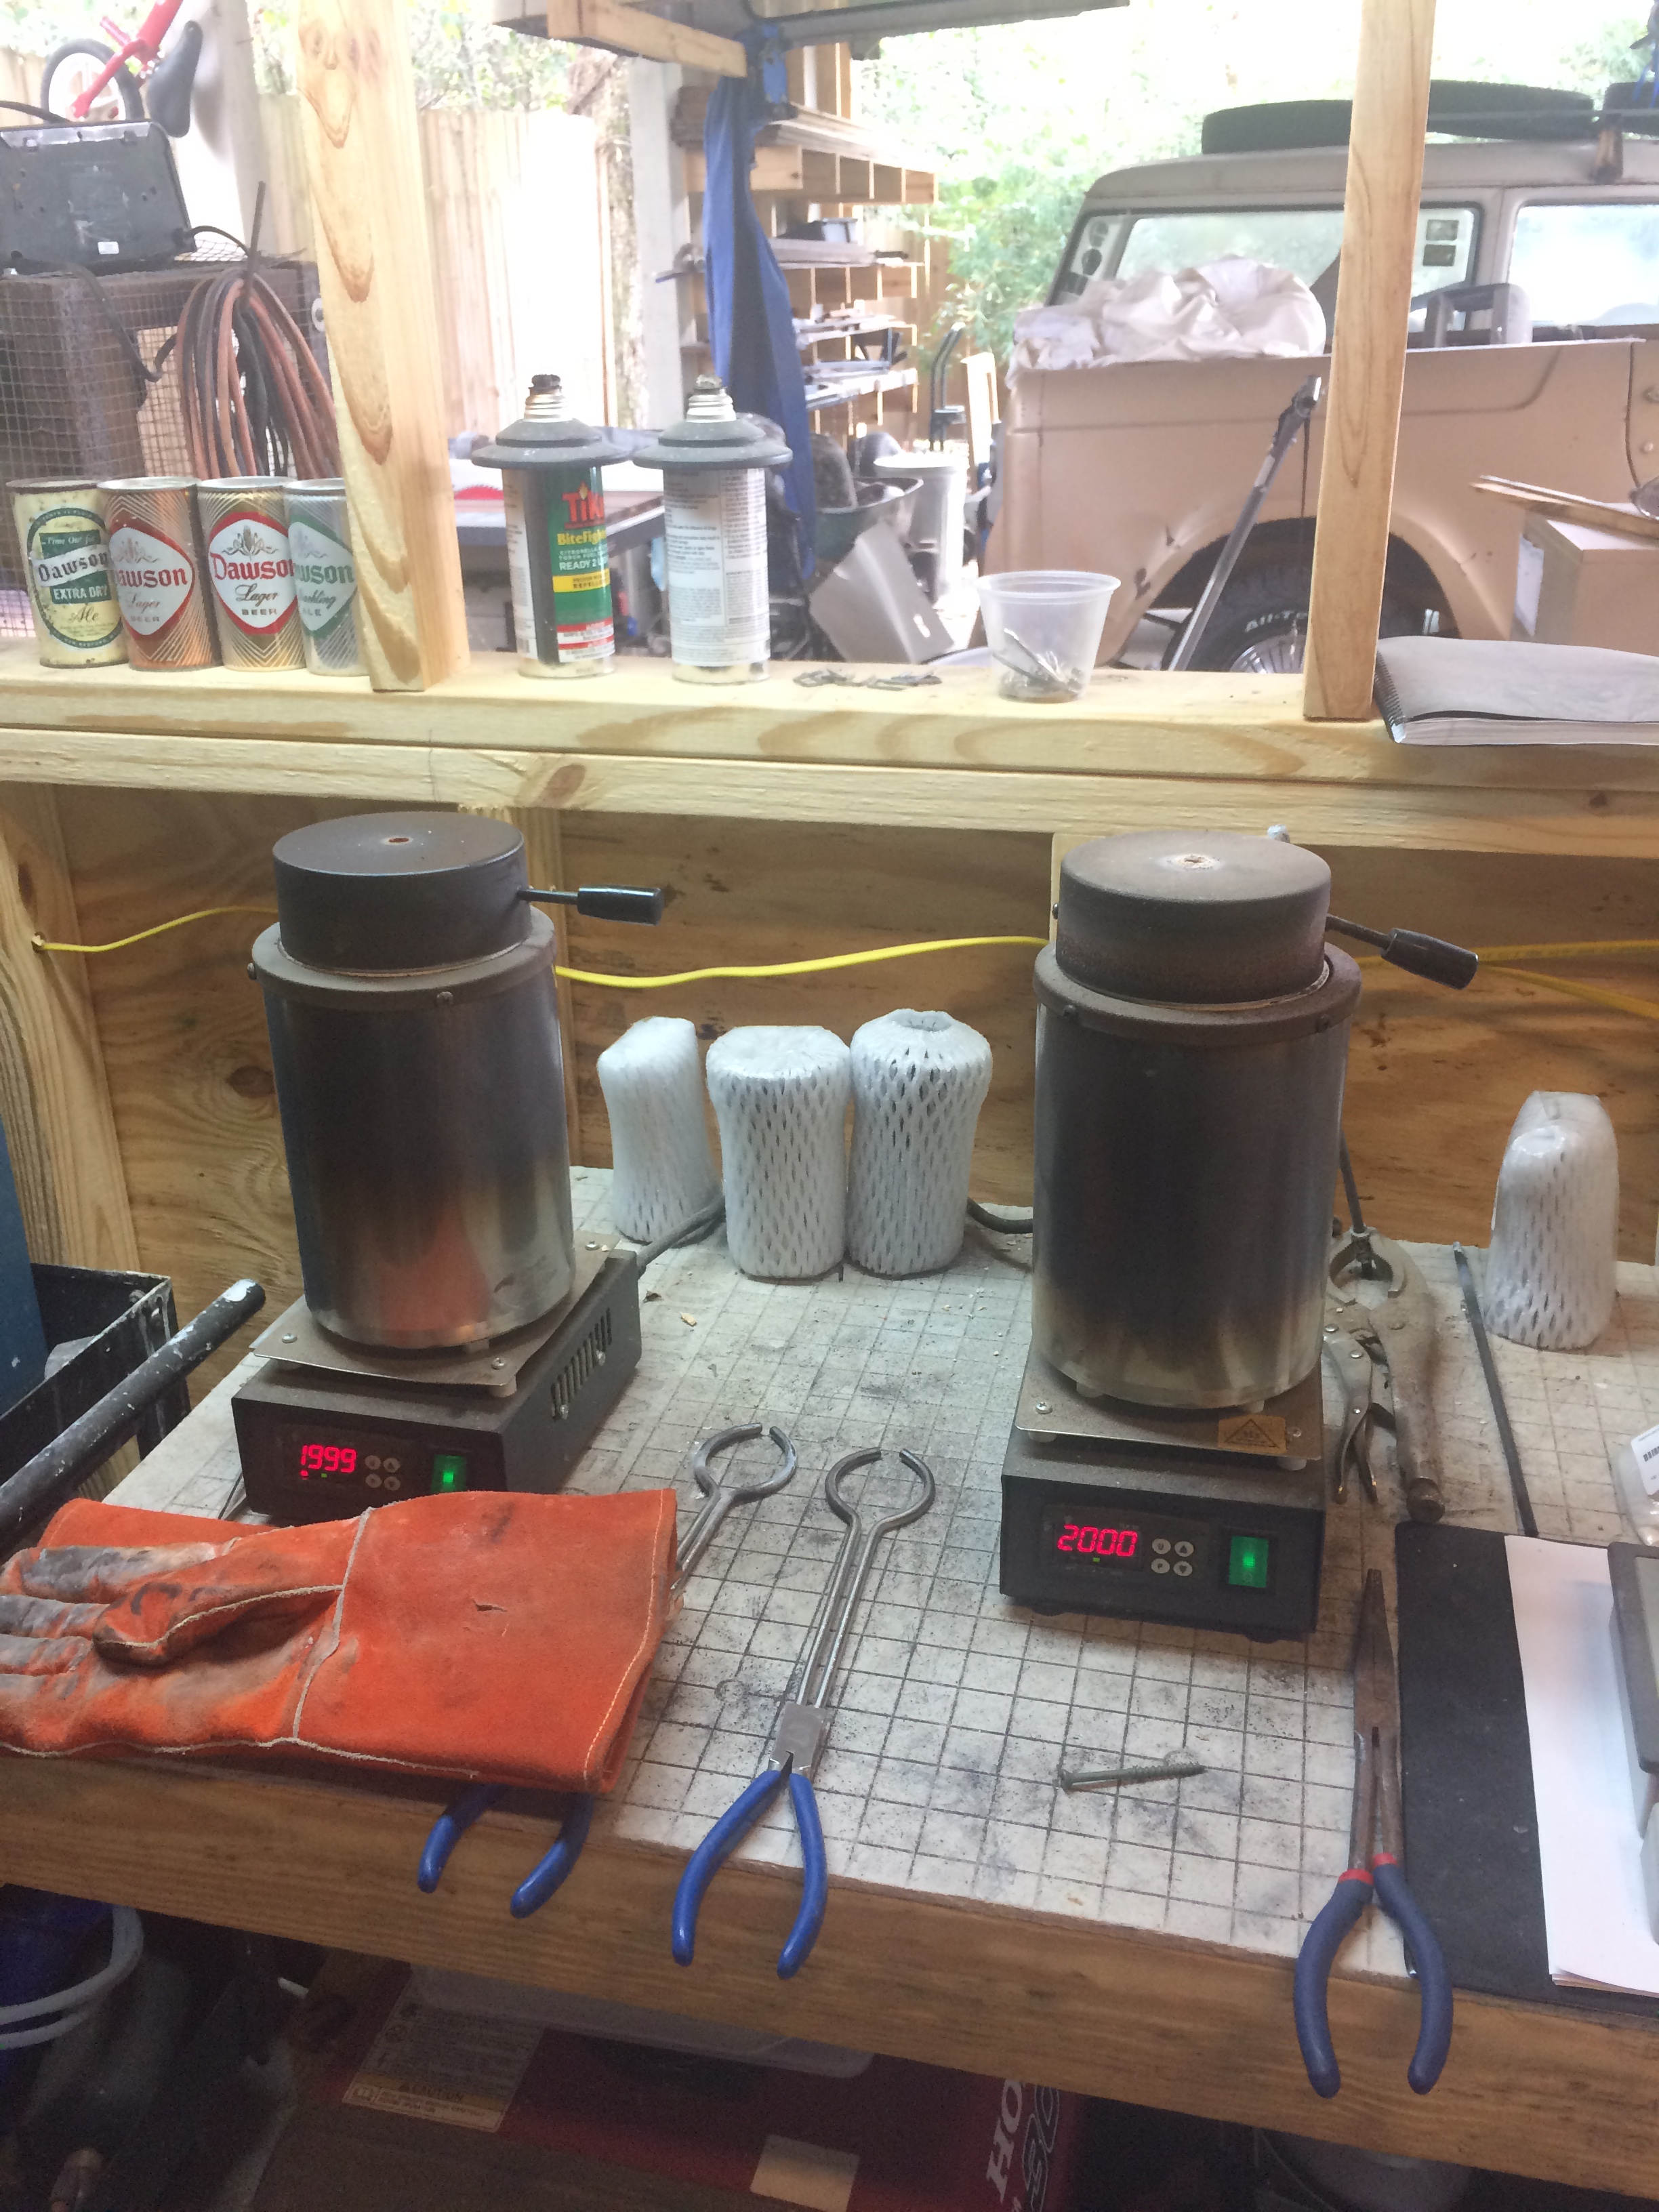
8. Melt Metal for a Given Tree
Since you know how much wax made up a tree, you can convert to find out how much metal it takes to replace that space. Dawson has a system where he marks each tree plaster, and precalculates the grams of bronze or silver to fill it up that tree.
https://www.instagram.com/p/BIeE3bOjBep/
They have two melters (there's probably a fancy word) for the metal, each has a graphite flask that will withstand about 3000 degrees - the metal is melted at about 2000 degrees.
9. Pour Metal into the Plaster Mold
https://www.instagram.com/p/BK6CkgODLFN/
Be careful. It's hot.
10. Pull the Air out with a Vacuum
This thing is a vacuum table
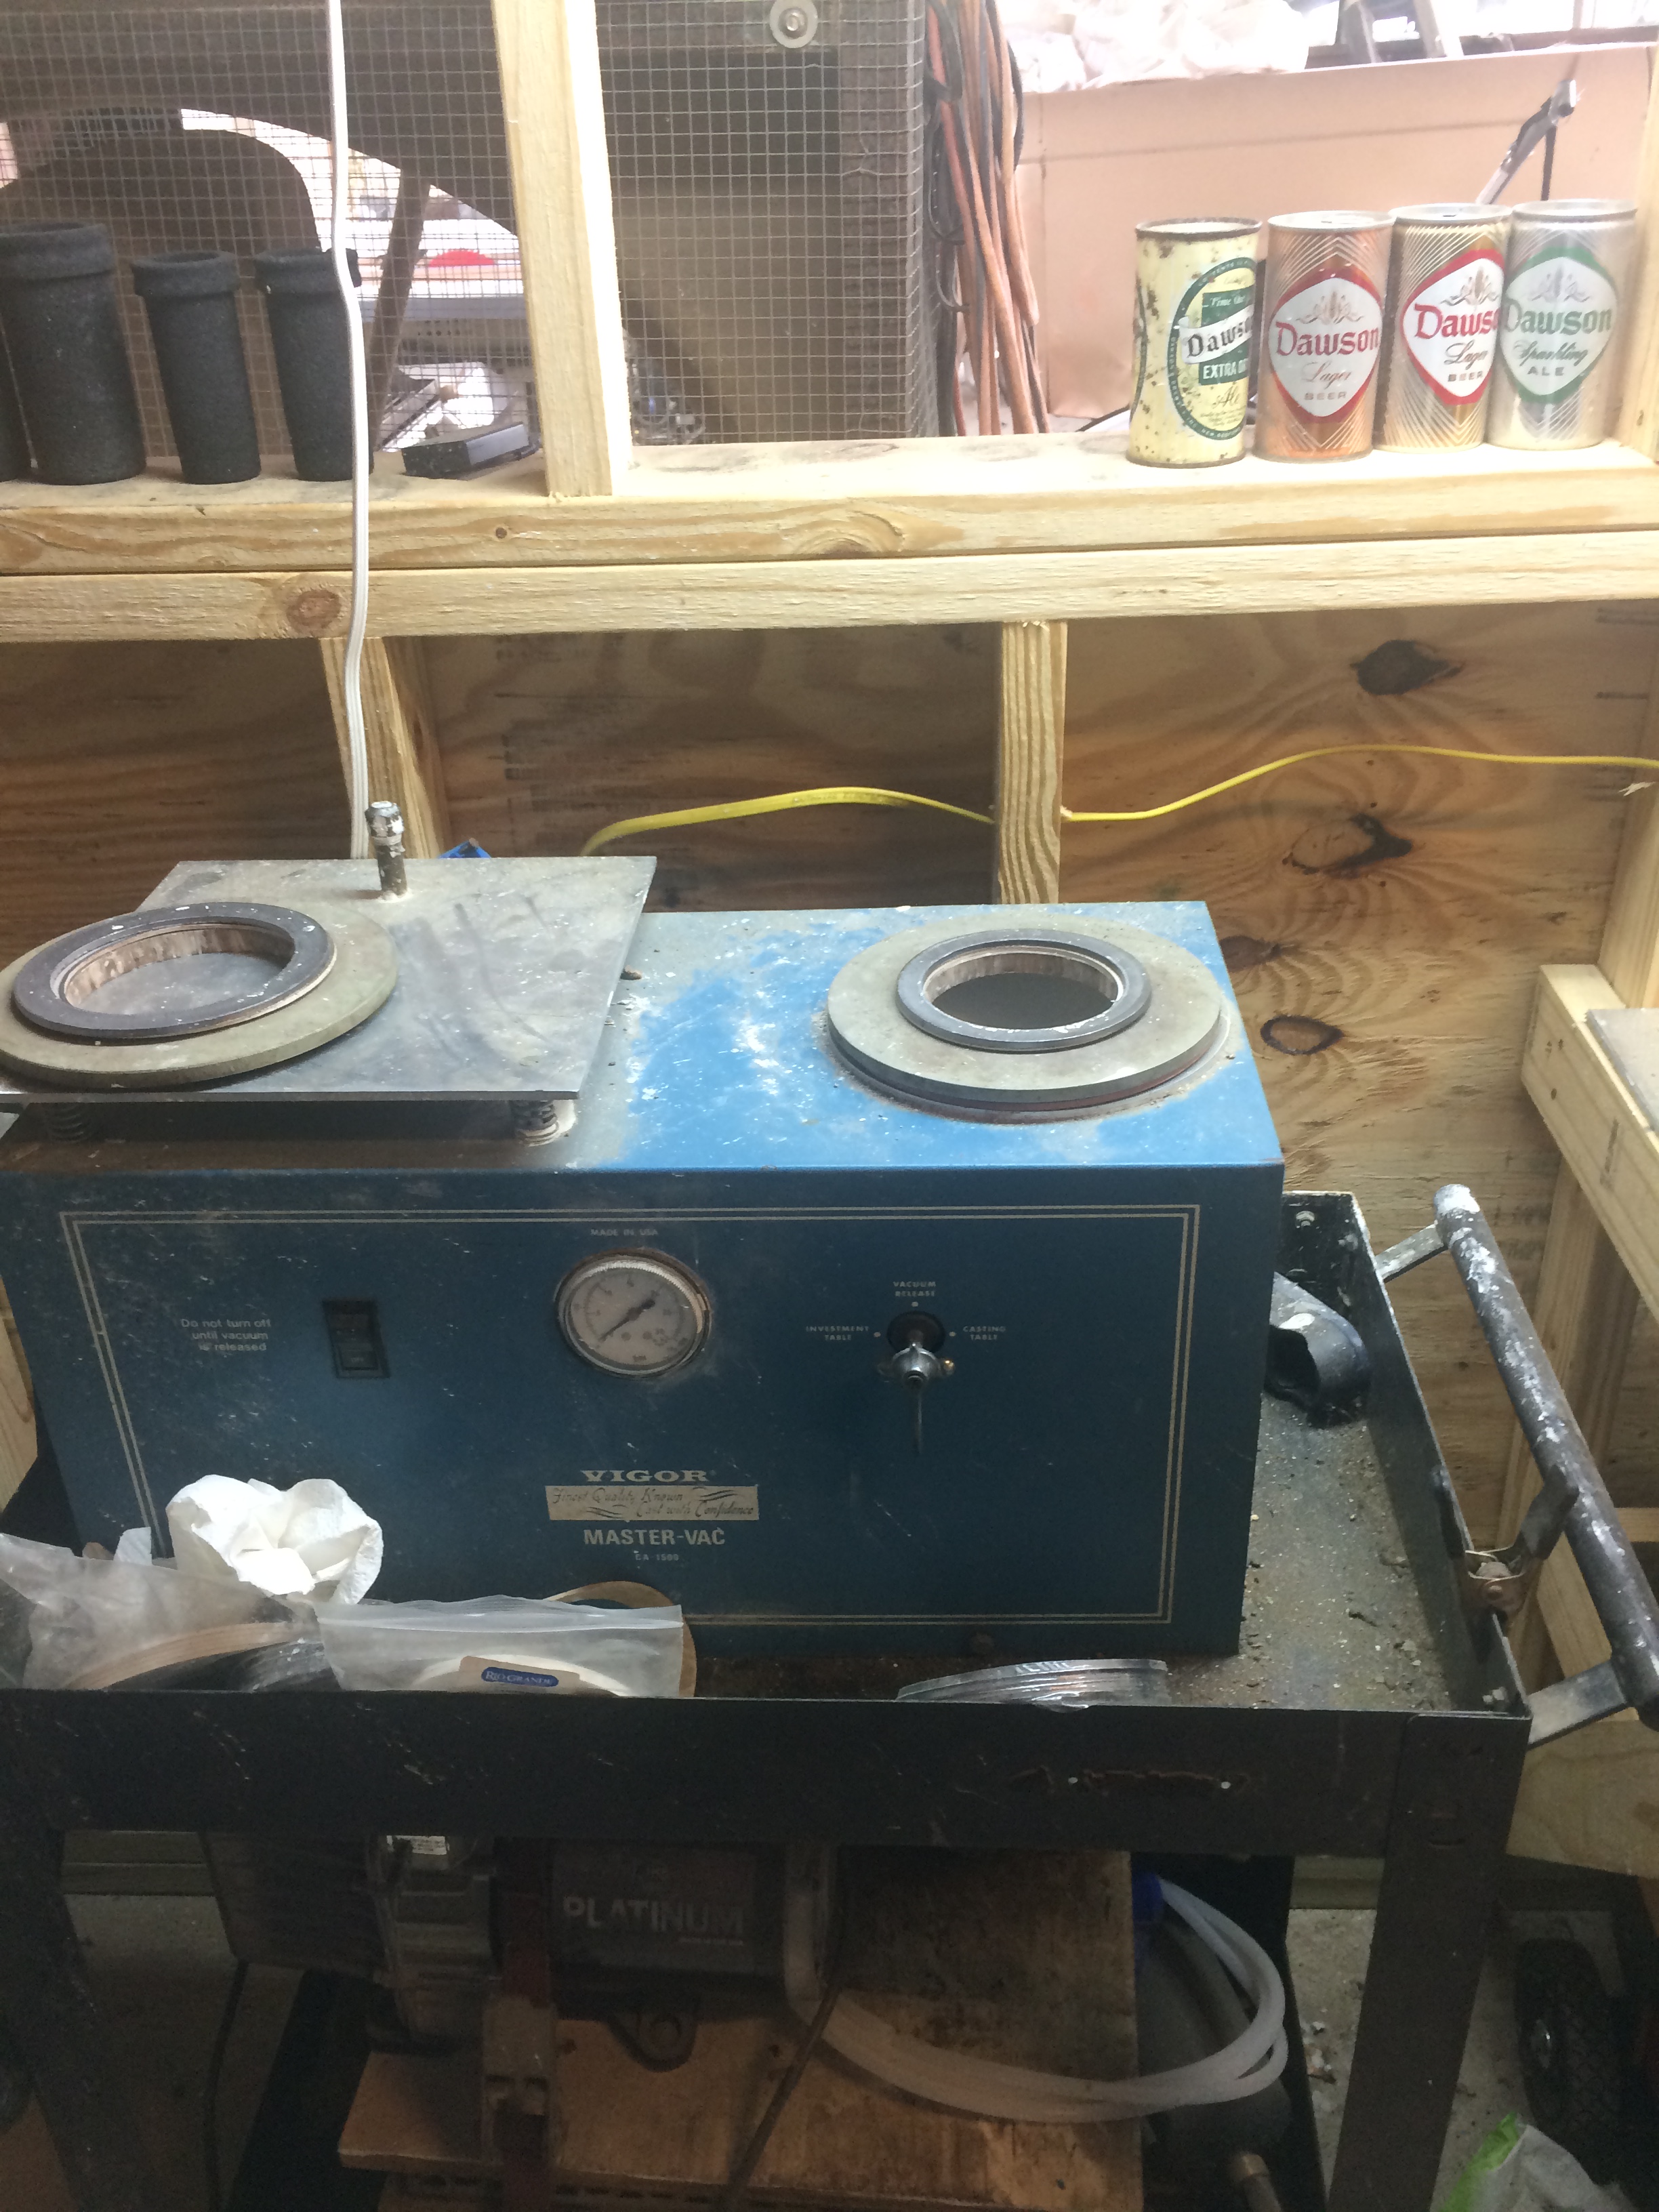
It pulls the air out through the (porous) plaster. This sucks the metal into all the tiny spaces.
Back to amazed at standard workshop uses for generating a vacuum.
11. Let the Metal Set
This takes several minutes, which I found surprisingly short.
12. Quench the Mold, Retrieve the Metal Tree
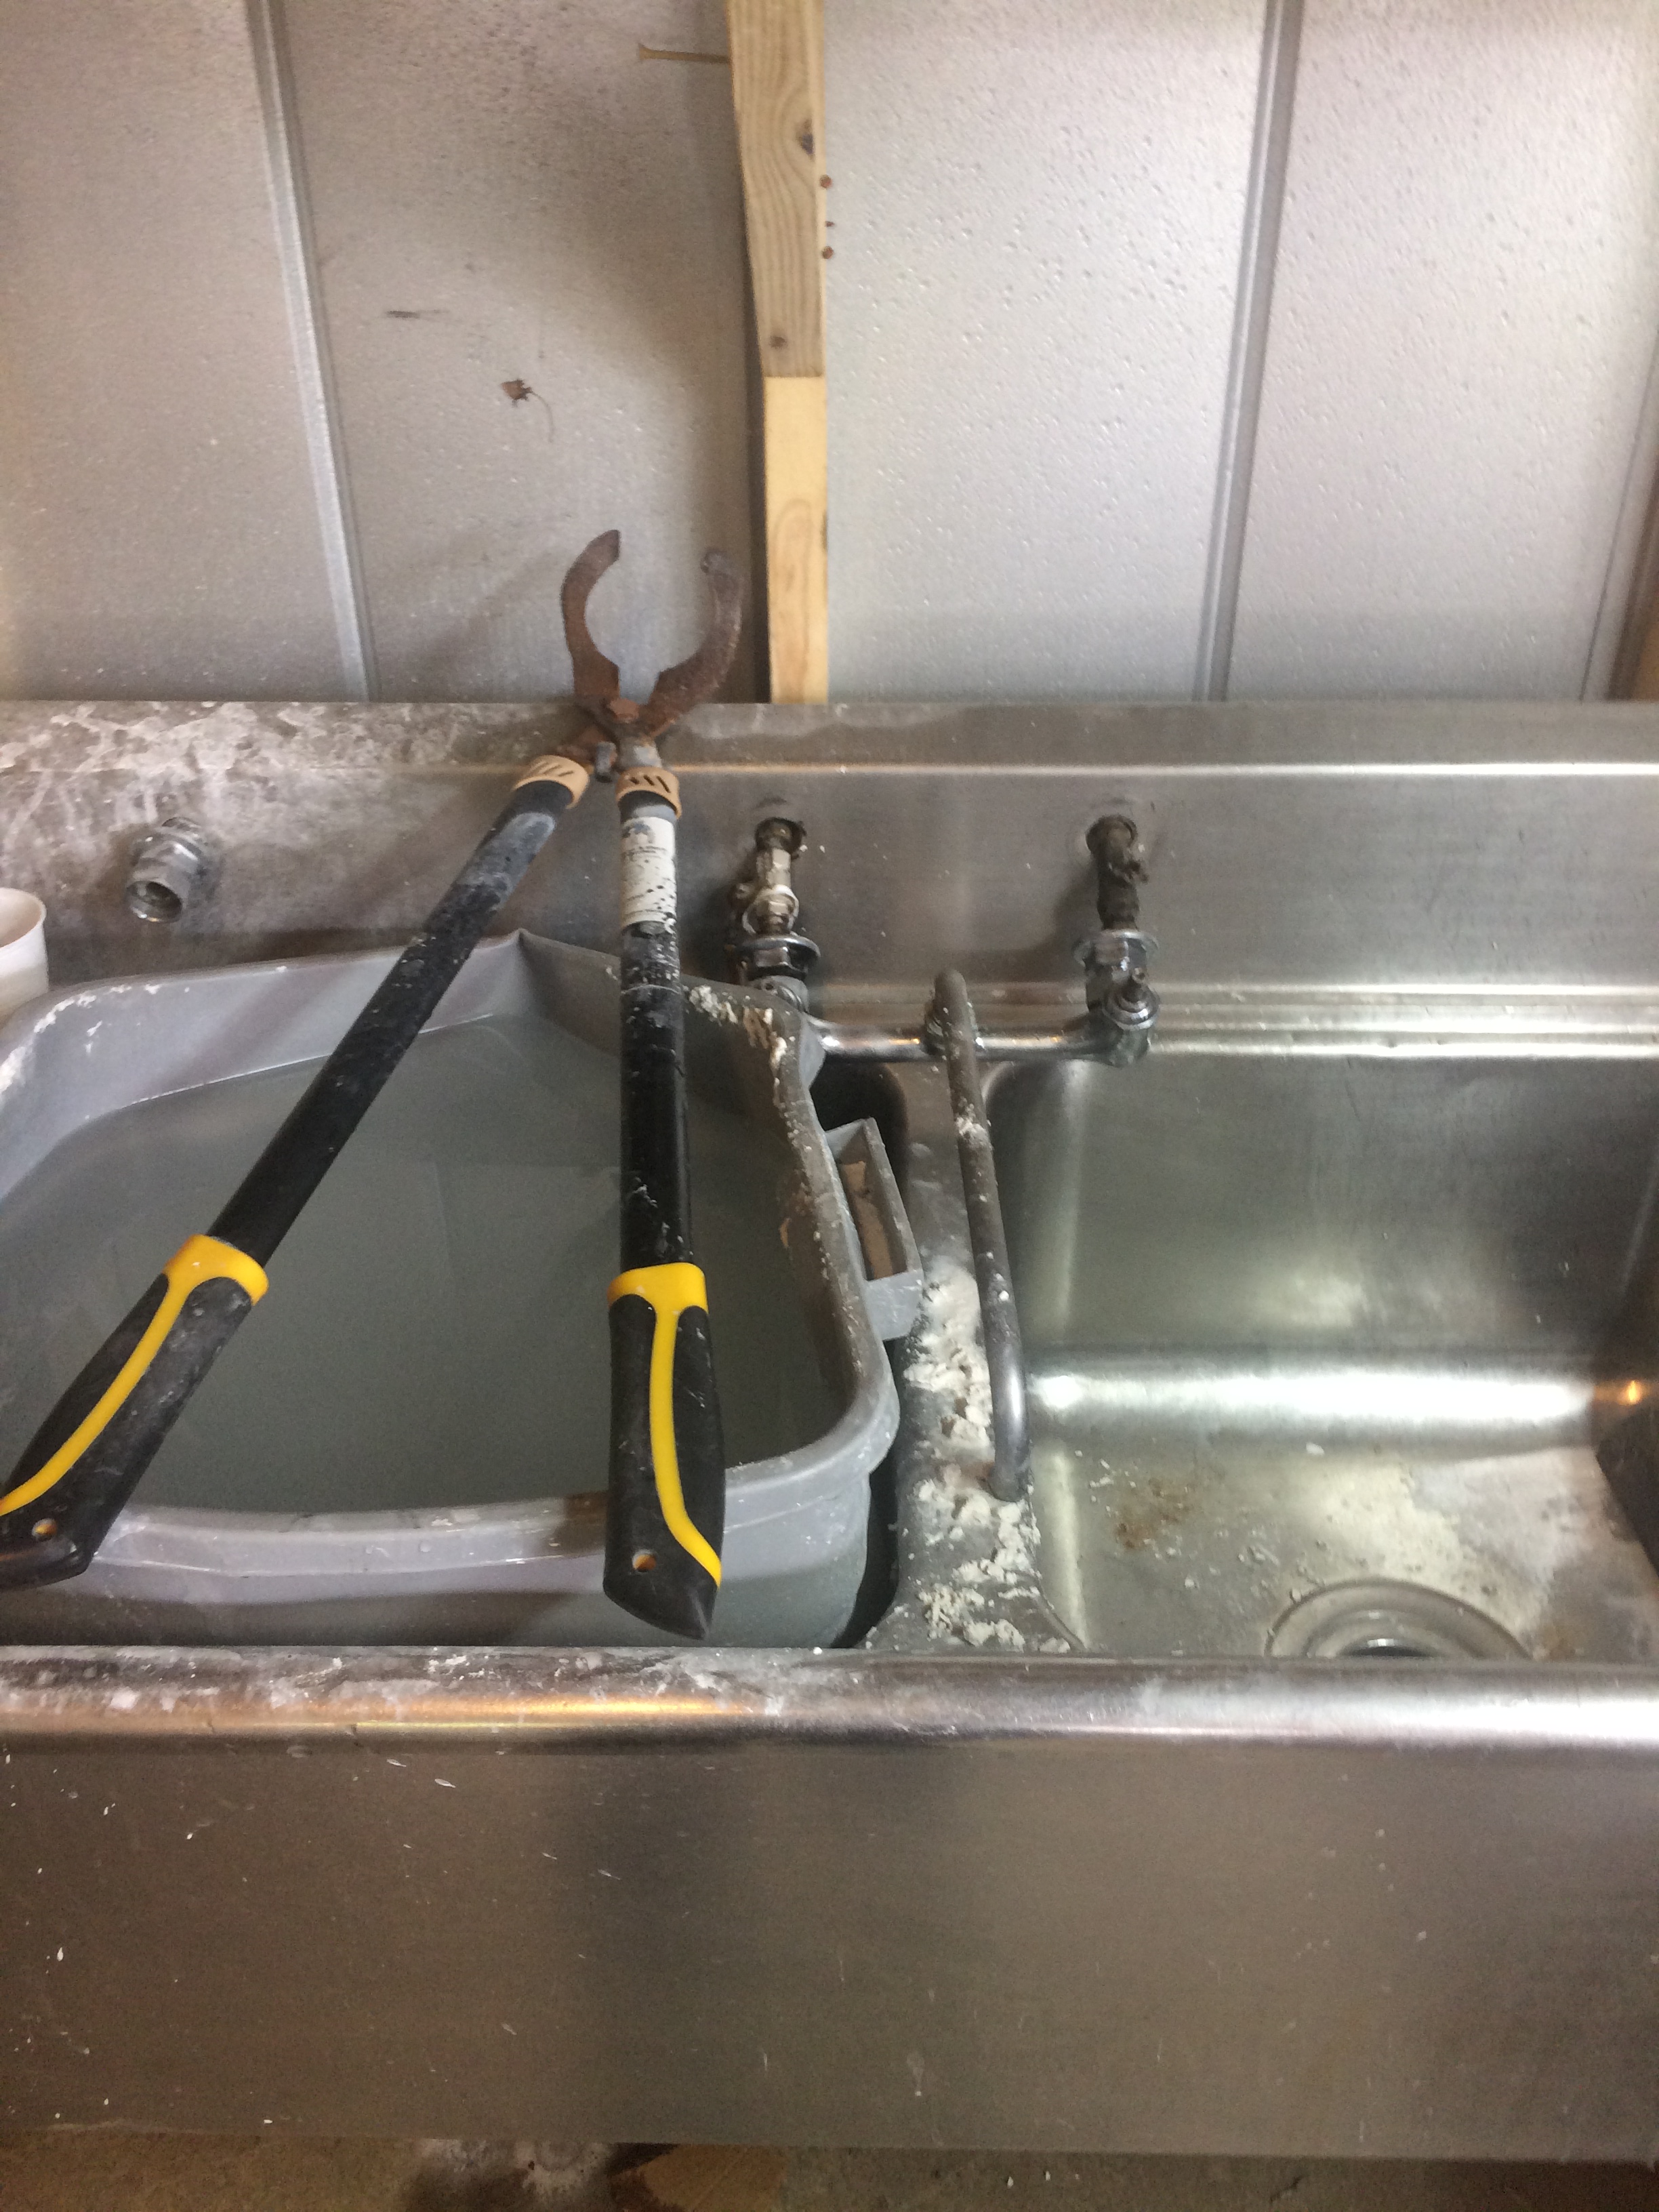
It's still real hot, the tongs are important.
Most of the plaster will fall right out. Hose off as much of the rest as you can.
The plaster gets discarded at this stage. Dawson tries to dry out a tub worth so that it's not as annoying to move, but it's still heavy.
Whoa - we have jewelry made of metal now!!!
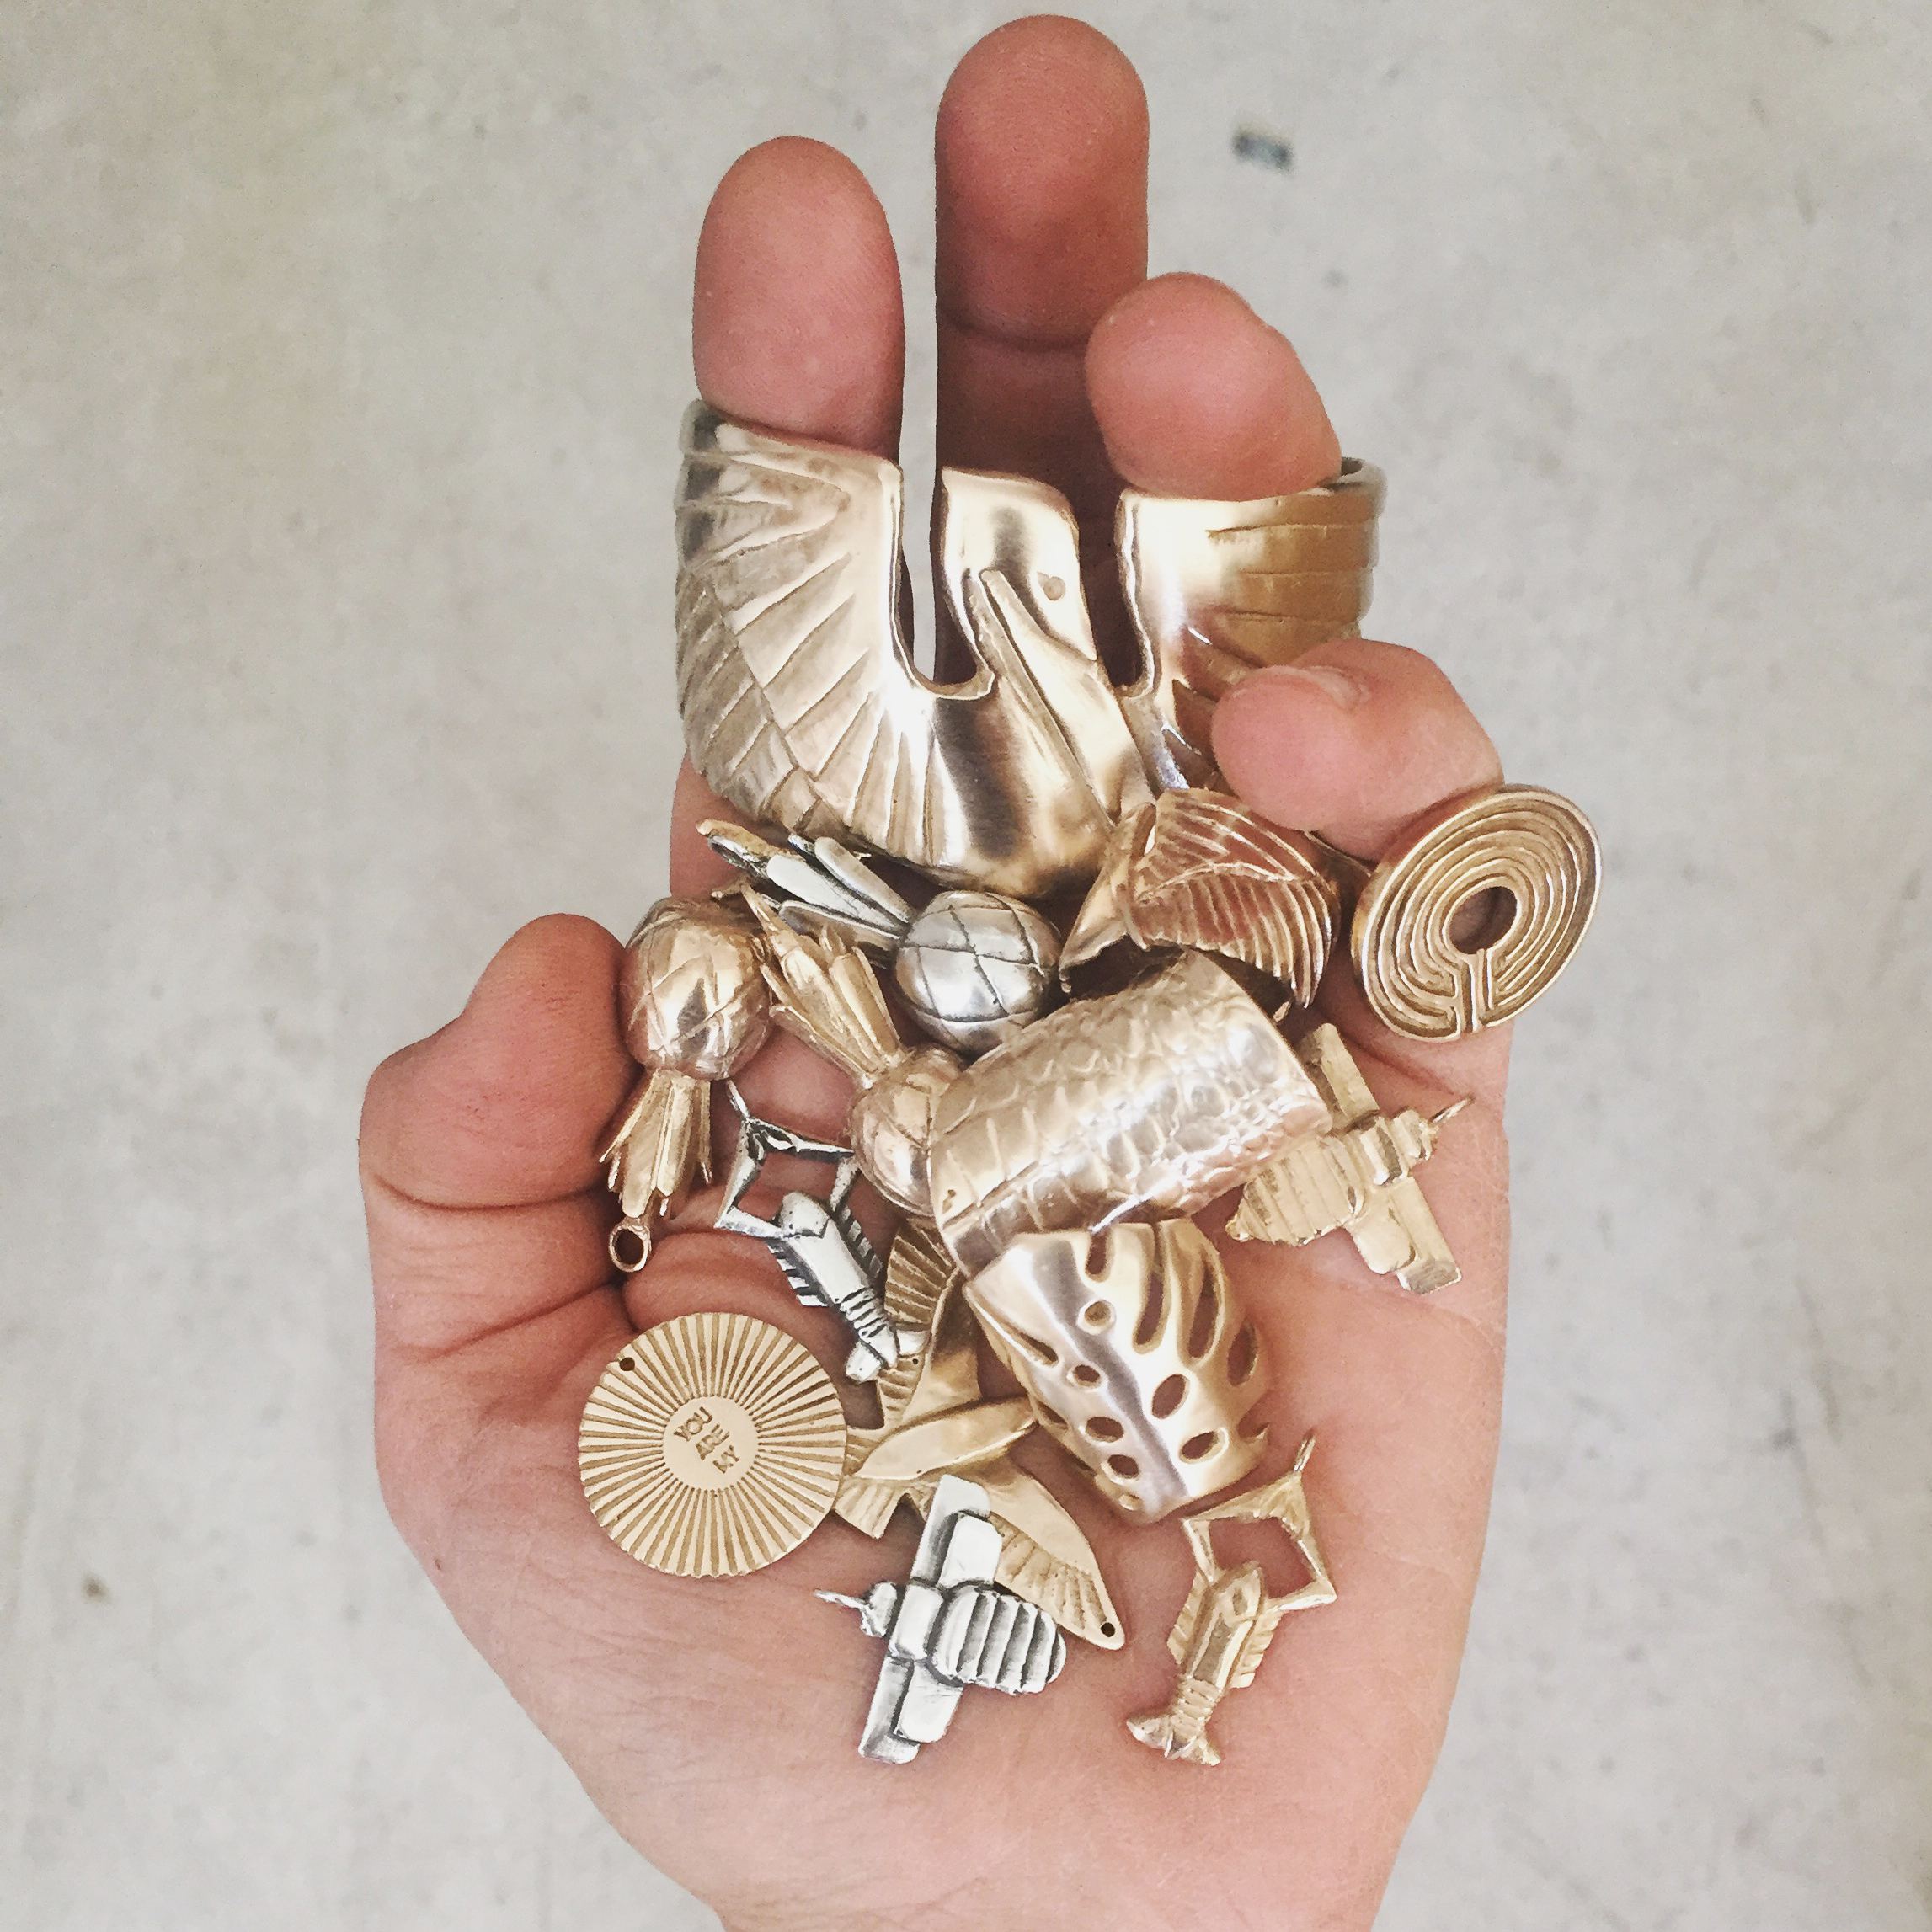
13. Clip the Pieces off the Tree
https://www.instagram.com/p/BKd2O5Kg93B/
Gotta separate allllll of these from each other.
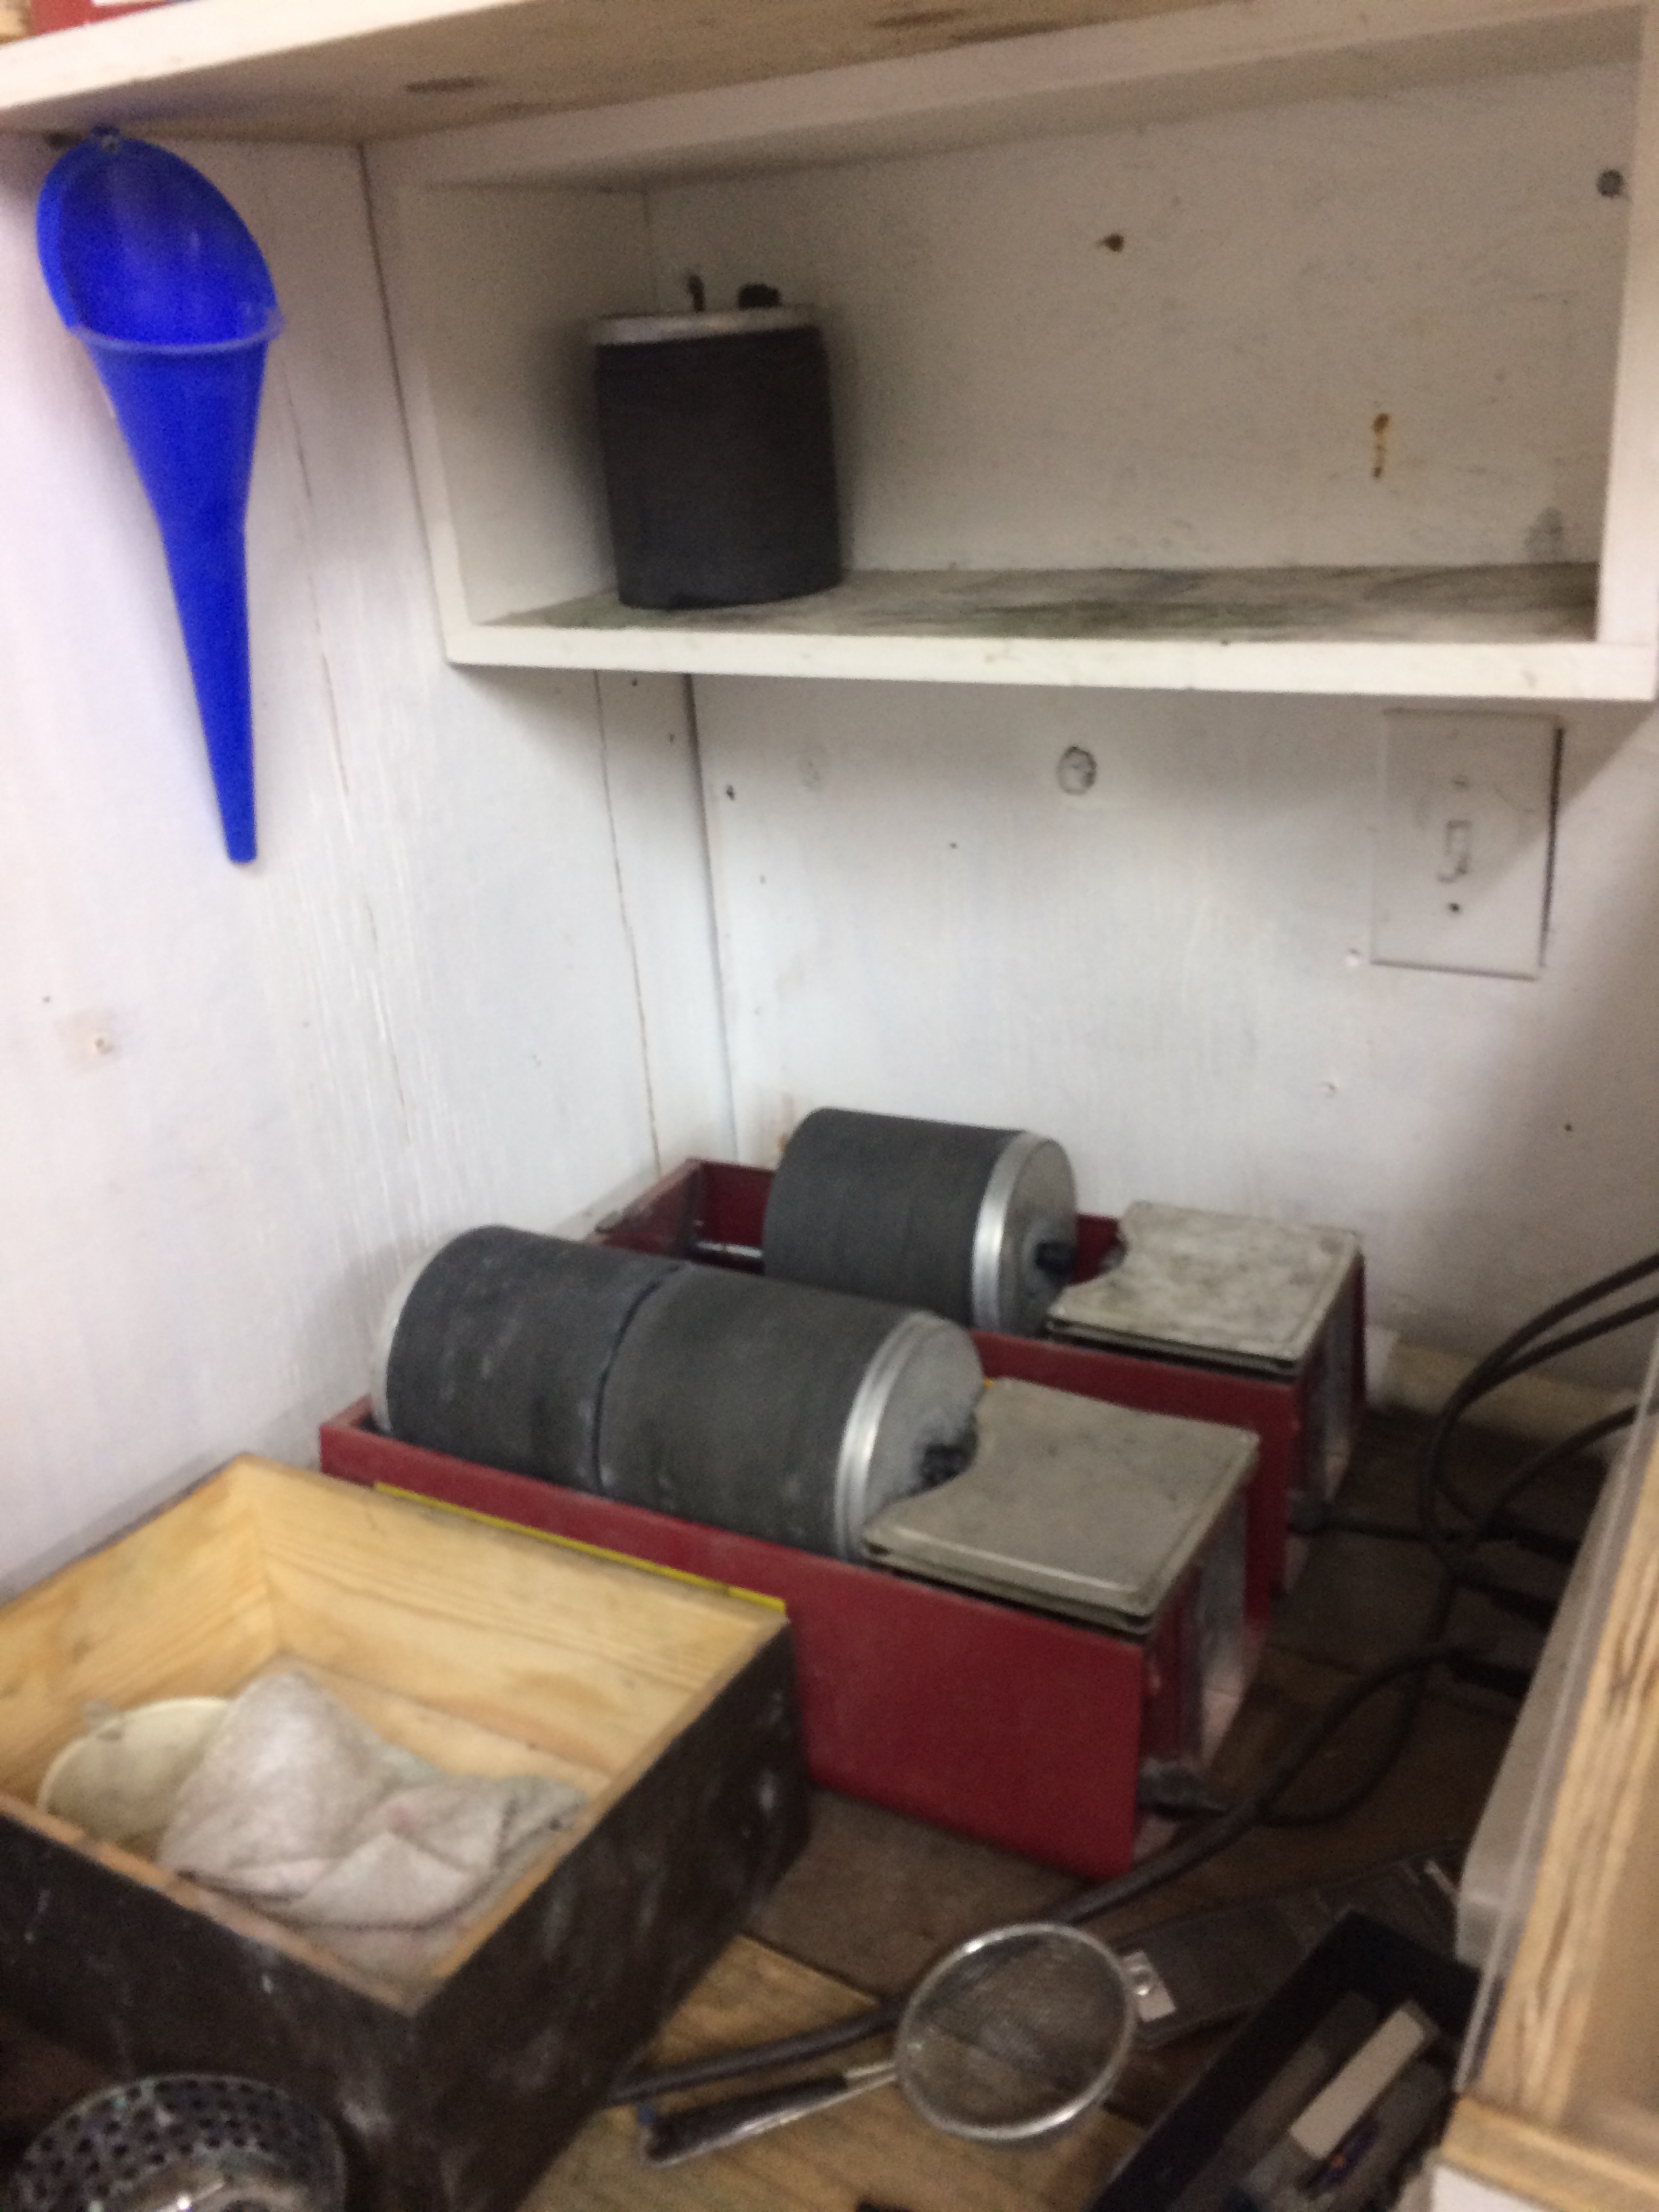
14. Pop Them in a Tumbler to Remove the Rest of the Plaster
15. Grind off the Sprue and Any Other Metal Sticky-Out Bits
They were a little worried that the grind wheel would wear down too much before they got through the Christmas orders - but they managed!
16. Clean, Buff, and Assemble the Final Piece
Some of the pieces have extra bits, like the Pelican Cuff can have a turquoise eye, or the Diffuser line all include terra cotta disks to hold essential oils. But all of them get lovingly polished and packaged before going on to new homes.
I hope it seems straightforward here, even though there are a lot of steps and a lot of places it can go wrong. It took two days of following Dawson around to see all of these steps - because they are all going on all the time! Madeline will be working on custom pieces while Dawson mixes plaster and Courtney grinds down new pieces. Or Madeline will be buffing jewelry while Dawson melts wax and Courtney handles packaging and shipping. Even in between each of these stages, more stuff gets fit in: waiting for the metal to cool gives Dawson a few minutes to set turquoise eyes in pelican cuffs. I'm so grateful to all of them for finding time to answer my questions while they were so busy. As you can tell, I really learned a lot!